
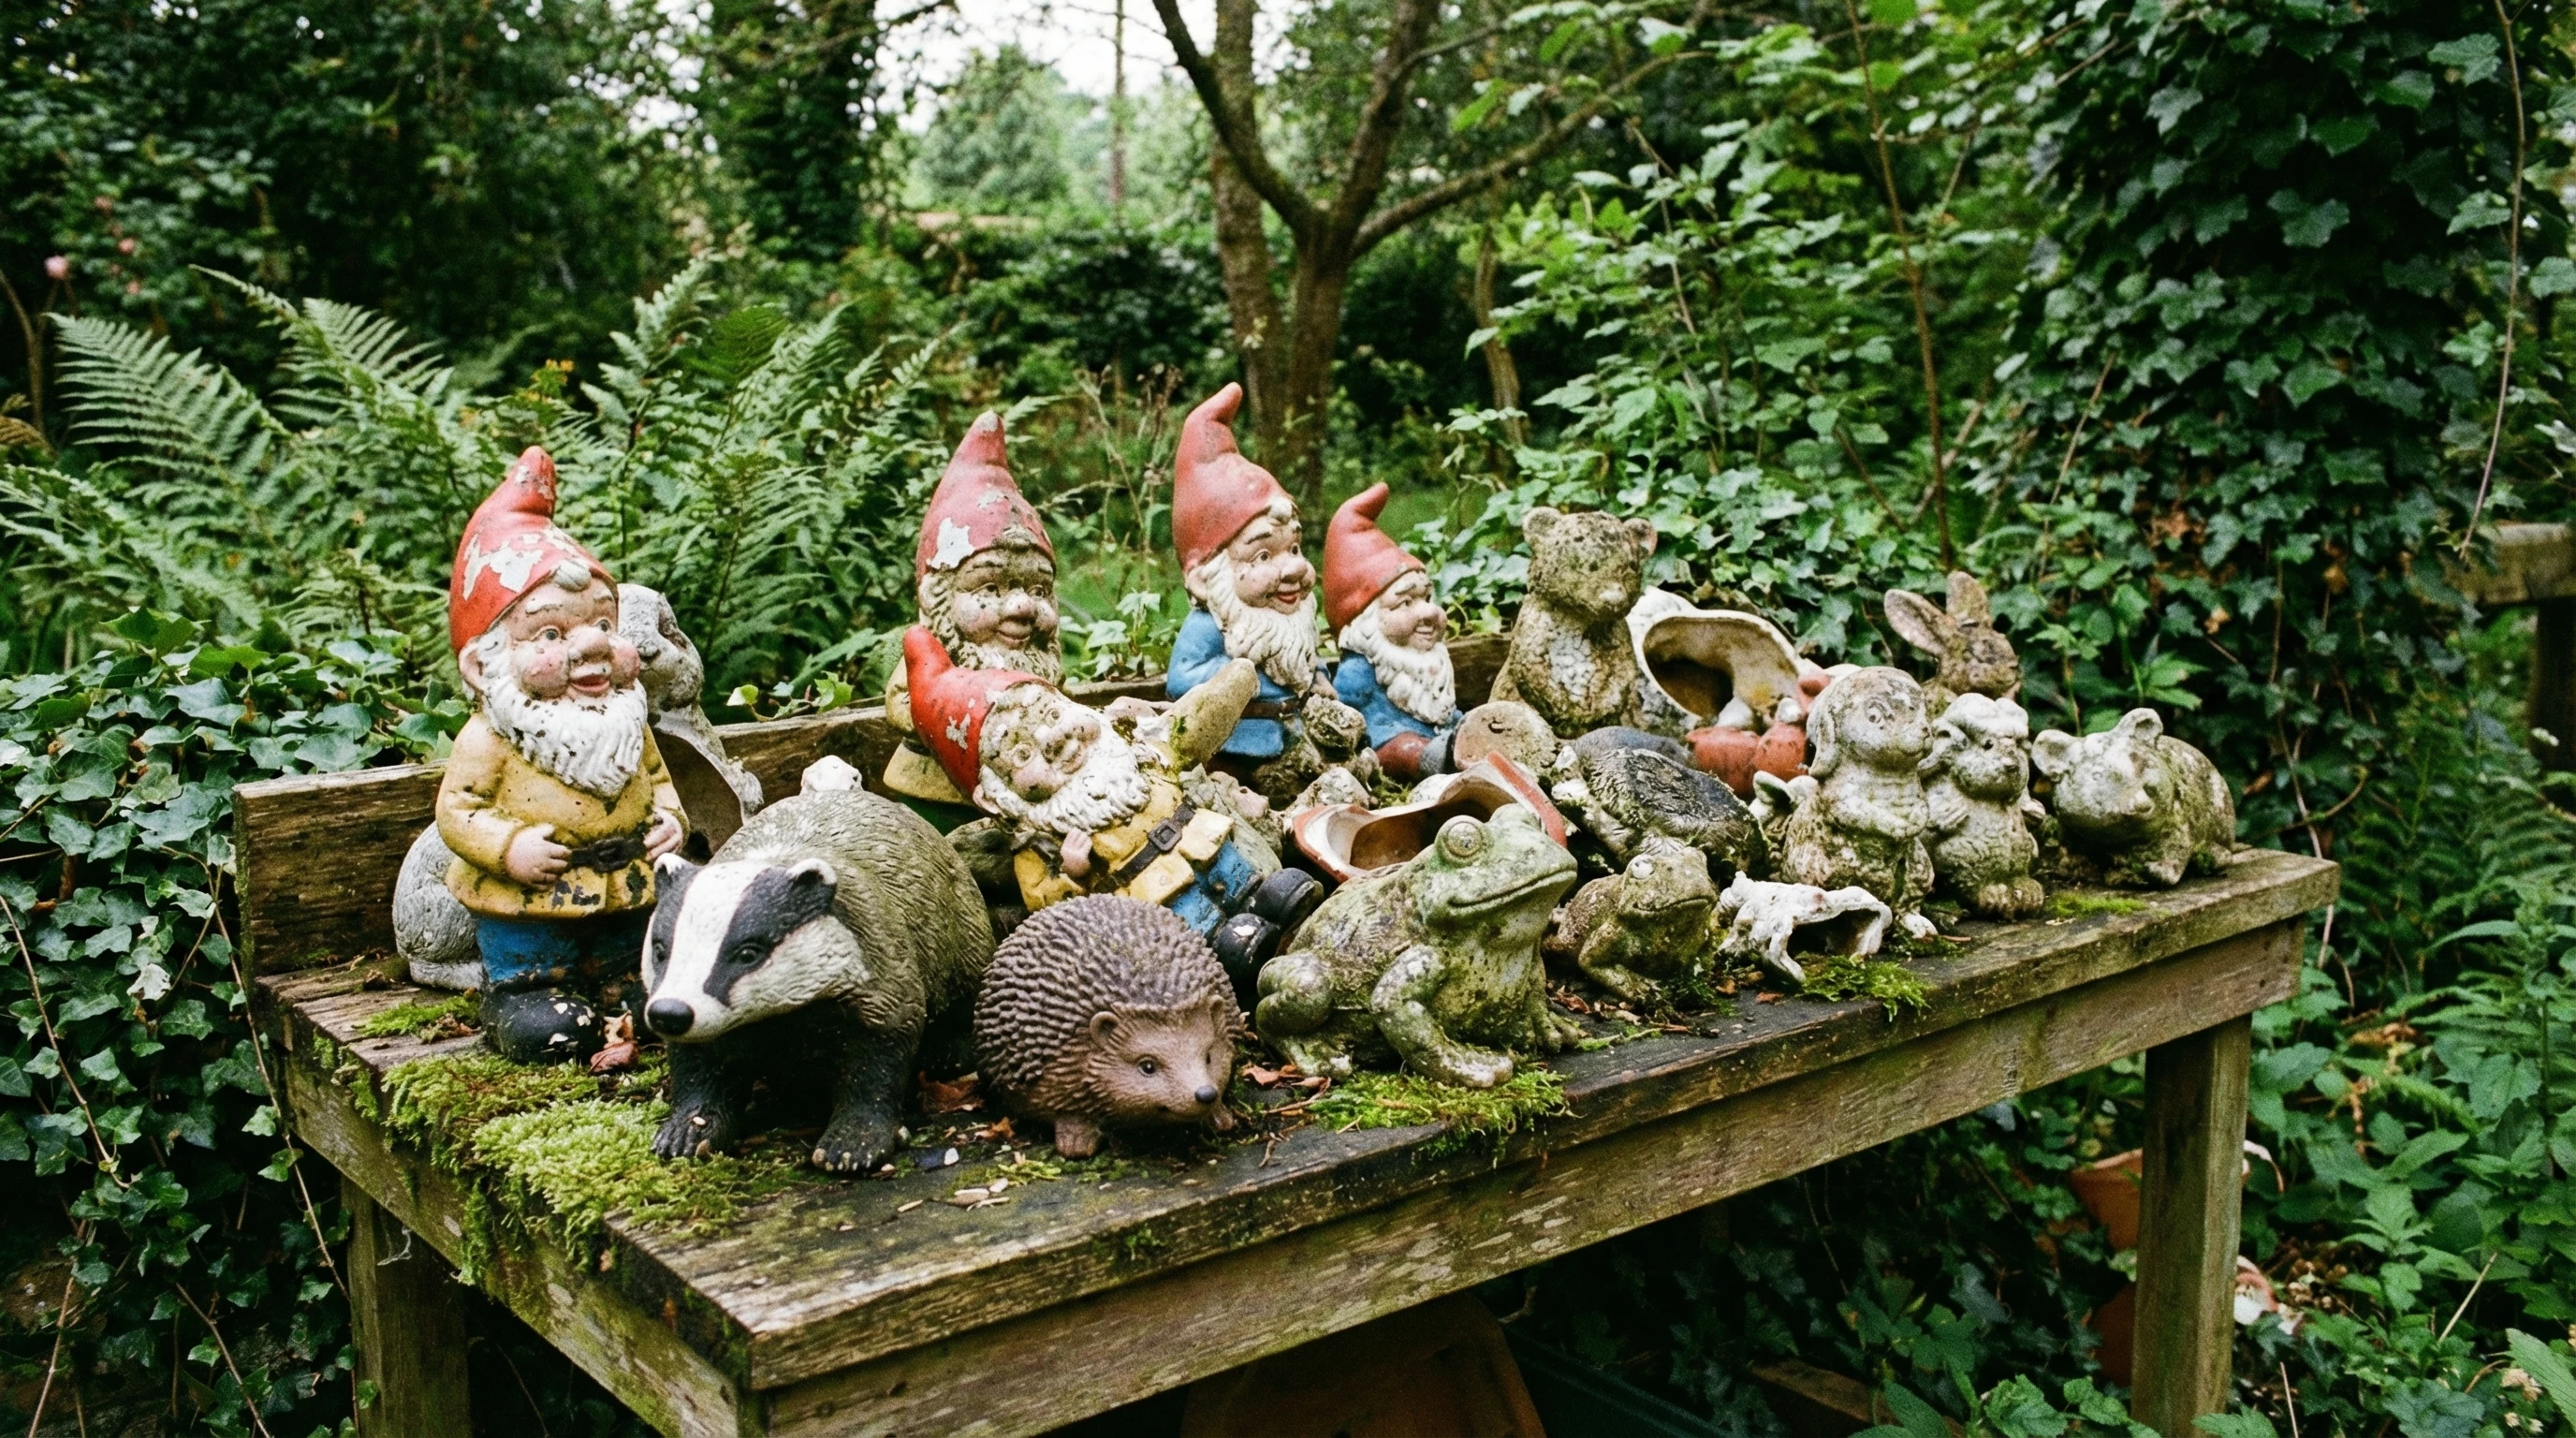
 Ceramic garden ornaments can brighten up any outdoor space, but dirt, moss, and tough stains can quickly make them look tired. Between weather, pollen, and the occasional bird drop, garden statues and figures pick up grime surprisingly fast. Luckily, you don’t have to live with grubby ornaments or worry about scrubbing off delicate details the wrong way.
If you’re like me and love seeing your garden decor looking fresh and vibrant, you’ll be glad to know that removing stains and dirt from ceramic garden ornaments is usually straightforward, once you know a few handy tricks. It doesn’t matter if your figures are painted, glazed, or left natural; I’ve got some practical tips for every type.
This guide covers safe cleaning methods, products that work (and a few to avoid), plus some quick strategies to keep your garden treasures looking their best season after season. Whether you’ve got a family of ceramic frogs, a classic gnome, or just one statement urn, these steps can help restore their sparkle and far outlast a single summer.
1. Know Your Ceramic: Painted, Glazed, or Unglazed?
Figuring out what kind of ceramic you have changes everything about how you clean it. Glazed ceramics usually have a shiny or glassy surface that makes them pretty resistant to stains. Painted and unglazed pieces, on the other hand, can be porous or more delicate, so you’ll want to go easier on tough scrubbing and strong cleaners.
If your ornaments have fine paint details or look matte (not shiny), test a small spot first with water before using any cleaning solutions. Glazed finishes are generally more forgiving, so light scrubbing is typically safe.
What to Check:
- Check for chips or cracks before cleaning, since these spots may soak up water or cleaner.
- If any piece is especially vintage or sentimental, use the gentlest cleaning method possible first.
2. Rinse Off Surface Dirt First
Before you take on stubborn stains, rinse off loose soil and dust with a hose or a big bucket of water. This helps prevent scratches from gritty debris. For lawn ornaments with lots of grooves and detail, a gentle sprayer or a soft brush (like an old paintbrush or toothbrush) works great for loosening up dirt that collects in tiny crevices.
Quick Tips:
- Let the ornament soak for 10–15 minutes if there’s a lot of dried-on dirt.
- Avoid high-pressure hoses on fragile or older pieces; these can break off small details.
3. Homemade Cleaning Solutions
Most garden grime clears up with easy homemade solutions you probably already have in your home. I usually stick to gentle ones since strong chemicals aren’t really necessary for ceramic, and they can sometimes cause surface fade or stubborn residue.
Go-To Cleaners:
- Mild Dish Soap Solution: Mix a couple drops of dish soap into a half gallon of warm water. Use a soft cloth or sponge to gently wipe the ornament’s surfaces.
- Baking Soda Paste: Mix baking soda with just enough water to make a paste. This works very well on bird droppings, algae patches, or any stubborn gunk. Spread onto stains, let it sit for 10–20 minutes, then scrub with a soft brush.
- White Vinegar Mix: Combine one part white vinegar with three parts water. Use on glazed ceramics only; vinegar is a natural de-scaler, great for getting rid of mineral stains, but can dull unglazed or painted finishes if used too strong or too often.
What I Avoid:
- Acidic cleaners beyond diluted vinegar, which can ruin painted or matte surfaces.
- Bleach—it’s too harsh for most ceramics and can cause fading or crackling, especially outside in the sun.
4. Tackling Tough Stains and Mold
Moss, black mildew, and deep green stains give ceramic ornaments a weathered look, but if you want a clean, bright finish, you can get rid of most of it pretty easily.
- For Mold and Algae: Dish soap or diluted vinegar (for glazed pieces) with a soft scrub brush does the trick. For really stubborn spots, try hydrogen peroxide (just a splash mixed in water) and let it sit a few minutes before rinsing. Always rinse thoroughly as leftover cleaner can attract more dirt!
- For Rust Stains: These sometimes show up if ornaments sit on iron furniture or rusty soil. Try a paste of baking soda and water or a little cream of tartar. Don’t use rough metal brushes; they’ll scratch the surface.
5. Dry and Shine: Protecting the Finish
Damp garden ornaments left in shady spots can grow new stains faster, so drying is an important step. After cleaning, I like to set ornaments in a sunny spot for a few hours, but you can also towel them off if they’re not fully dry by sunset.
Optional Extras:
- A tiny bit of mineral oil or ceramic polish can add shine to dull glazed surfaces, but skip this for painted or unglazed decor.
- Sealing spray meant for ceramics adds a water-repellent barrier to help prevent future stains. If you use one, make sure your ornament is completely dry first and follow the instructions on the can.
6. Ongoing Maintenance and Seasonal Tips
Keeping ceramic garden ornaments looking good isn’t about deep cleaning all the time. A little upkeep once a month makes a huge difference, especially if you live somewhere with a lot of pollen, birds, or wet weather.
- Rinse dirt off every few weeks; dry mud is much harder to remove than fresh.
- Bring especially fragile or cherished ornaments indoors for the winter to avoid frost damage, which can make future stains stickier.
- Turn ornaments a quarter turn every so often so no one side gets all the weathering.
A gentle touch will keep your pieces looking new for years, and they’ll keep brightening up your garden no matter the season.
Wrapping Up
Ceramic garden ornaments are a fun way to showcase your personality outdoors, but a bit of care keeps them looking bright instead of battered. All you really need is a soft brush, mild soap, some baking soda, and a steady rinse to tackle most stains and dirt. Fancier treatments or harsh chemicals are rarely needed. Most pieces will be just fine with simple regular cleaning. If you ever worry about a tough spot or a delicate finish, gentle soap and patience usually go a long way.
Which garden ornament are you planning to clean up first? If you try any of these methods, I’d love to hear how it worked out for you!
From a homeowner’s perspective, there is a specific kind of frustration that comes with realizing your “whimsical” garden decor now looks like it’s been unearthed from an archaeological dig.
Once the ornament is finally clean and dry, do you recommend applying any kind of UV-resistant clear sealant or wax to help repel future dirt, or does adding an extra layer risk trapping moisture inside the ceramic and causing it to crack during the next winter freeze?