
Restoring antique garden ornaments is a satisfying way to bring character and charm back to a weathered yard. I often find that these treasures, whether stone statues, iron urns, or terracotta pots, have decades or even centuries of stories behind them. But age and the elements can leave them cracked, chipped, or flaking. Knowing the best materials for antique garden ornament repair goes a long way toward making your restoration last, preserving both beauty and value. Here’s what I’ve learned from hands-on experience and a bit of trial and error.
Key Materials For Restoring Antique Garden Ornaments
Restoring antique ornaments is all about matching modern repair solutions to old school craftsmanship. Original ornaments might be made from stone, cast iron, brass, lead, or terracotta. Each one has its own quirks, and picking the right repair materials keeps things stable, safe, and as close to authentic as possible.
Vintage repair methods like lime mortar or animal based glues were commonly used back in the day, but today’s materials give longer lasting results. Understanding what to use (and when) helps you extend an ornament’s life while keeping its historic charm intact.
Overview Of Common Garden Ornament Materials
Most garden antiques fall into one of a few categories. Here’s a quick breakdown of what I run into most often and a quick note about their care:
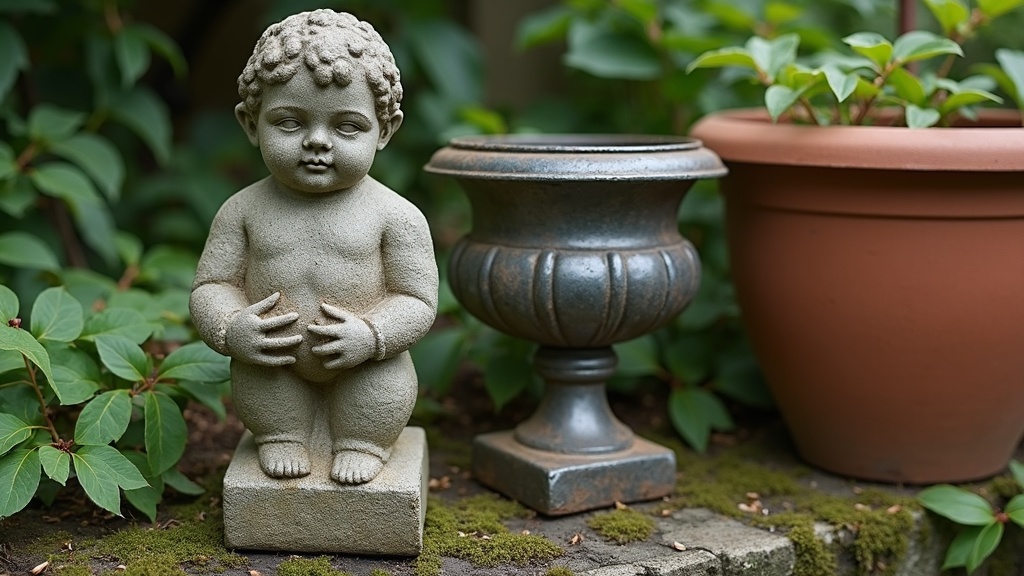
- Stone (Marble, Limestone, Sandstone): Classic choice for statues and fountains. Pretty tough, but porous and sensitive to harsh cleaners.
- Cast Iron and Wrought Iron: Robust and often beautifully ornate. Rust is the big enemy here.
- Lead: Often found in planters and small sculptures. Soft, can bend and crack. Caution required due to lead’s toxicity.
- Terracotta and Clay: Lightweight planters and decorative elements. Prone to chips and breaks but easy to fill or glue.
- Concrete: Modern mass produced garden figures and pots. Durable, but cracks with frost or age.
- Bronze and Brass: Used for decorative plaques, sundials, and animal statuary. Develops a green patina over time; some folks love this, others prefer to restore shine.
Repair Materials That Work Best For Each Type
I’ve learned the hard way that using the wrong glue or filler can cause more harm than good. Here’s what’s worked best for me over the years, tailored for each material.
Stone And Concrete Repairs
- Lime Based Mortar: Great for old stone and concrete. Flexible, breathable, and closest to what was used originally. Choose a premixed lime mortar if you don’t want to blend your own.
- Epoxy Resin: Super durable but should only be used sparingly for securing broken off bits or filling deep cracks. It has very strong hold, but isn’t porous like the original, so use for small, hidden fixes.
- Stone Repair Putty: Color matched fillers like acrylic resins or putties blend really well, especially for delicate details or visible cracks.
Terracotta & Clay Ornament Repairs
- Waterproof PVA (Polyvinyl acetate) Glue: Lovely for small chips and cracks, especially on planters.
- Epoxy Adhesives: Use where you need maximum strength, like on large broken shards. Choose one rated for outdoor and damp settings, or labeled for ceramic repairs.
- Clay Based Fillers: For seamless repair, some folks actually make a paste from ground terracotta and a water resistant glue. This helps color match really well.
Metal Ornament Repairs (Iron, Lead, Brass, Bronze)
- Rust Converter And Metal Primers: For iron, I start with a rust converter to neutralize any flaking rust, then move on to a quality metal primer for a base.
- Metal Epoxy: Two part epoxies labeled for metal work wonders for sticking metal elements back together, just make sure it’s strong enough for outdoor use.
- Soldering And Welding: For valuable or large items, pro repairs using soft solder or low temperature welding can restore broken joints on lead or iron without leaving ugly patches.
Step By Step Guide To Antique Garden Ornament Repair
- Clean The Surface: Always start by cleaning off moss, dirt, and old paint. Try a soft brush and gentle soap; no harsh scrubbing or power washing on delicate surfaces.
- Assess The Damage: Check for structural hazards like deep cracks, loose parts, or instability. Take note of areas needing repair. Writing it down keeps everything organized and helps with picking materials.
- Choose The Right Repair Product: Match your repair material with your ornament’s base material as closely as possible for best longevity and appearance.
- Test In A Hidden Spot: Especially for visible areas, testing fillers or paint in an inconspicuous area first saves surprises later.
- Fill, Glue, Or Patch: Work in small, manageable sections. Don’t apply too much adhesive; less is usually more. Smooth out filler before it sets, using a damp cloth or tool for a tidy finish.
- Allow To Cure Fully: Every product has its own cure time. Resist the urge to speed it up with heat. Patience pays off with better adhesion and finish quality.
- Protective Finishes: Once repairs have dried completely, seal your work as needed. For stone and concrete, breathable masonry sealers work, while metals do best with rust resistant paint or wax. Terracotta sometimes benefits from a breathable, water repellent finish.
Common Problems And How To Avoid Them
- Moisture Trapped Under Filler: Always start with a dry ornament. Water in cracks will mess up adhesion.
- Color Mismatching: Unless you want a contrast, color matching your filler or paint makes for a much less obvious repair. Hardware and craft stores usually have sample cards or putty tints.
- Heavy Handed Cleaning Or Aggressive Tools: Old stone and iron are fragile, especially if they’ve been outside for decades. I always use soft brushes and gentle cleaners to keep detail intact.
- Poor Surface Prep: Flexible primers and sanded surfaces help adhesives bond better and prevent patch repairs from coming loose.
Extra Restoration Tips For Authentic Results
Getting an antique ornament’s look just right is all about blending repairs into the original finish. Here’s what I’ve found helps keep things looking authentic:
- Use subtle aging techniques: Rubbing a mix of garden soil and water over patched spots can knock back an overly bright, new patch so it blends into weathered finishes.
- Seal only where needed: Some older pieces need to “breathe,” especially stone and terracotta. Avoid fully waterproof sealers that might trap moisture and cause cracks later.
- Monitor repairs over time: Outdoor ornaments need occasional touchups. Quick checks in spring and autumn can help spot small issues before they get worse.
- Record your repairs: Keeping notes or snapping before and after photos helps you track down what’s been fixed. This helps if you ever want to sell the piece or simply want to remember your repair strategy for next time.
- Replace missing parts with care: If a piece is totally lost, try sculpting a fill or replacement from similar material, but don’t be afraid to let small imperfections remain. This adds character and preserves authenticity, making your garden ornament a one of a kind feature.
Frequently Asked Garden Ornament Repair Questions
Question: Can regular super glue fix a broken garden statue?
Answer: Regular super glue works in a pinch on small chips, but out door rated epoxy adhesives are much more reliable for lasting repairs, especially if the ornament faces rain or frost.
Question: Is repainting antique metal garden ornaments a good idea?
Answer: Repainting can protect from rust, but original patina often adds value and character. I only paint when the surface is badly corroded or if a client wants a fresh finish; choose specialized metal paint for best results.
Question: What if my ornament is made of lead?
Answer: Handle with gloves and avoid sanding or grinding. If repairs are needed, check with a professional or use cold weld epoxies made for lead. If in doubt, consider professional help for health safety reasons.
Best Practices For Preserving Antique Garden Ornaments
Antique garden ornaments add character not just through their looks, but through the stories behind them. Solid repairs with compatible materials help them stick around for years to come. My personal experience has shown that a gentle approach, matched materials, and occasional touchups work wonders for any outdoor collection. Regular inspections, smart cleaning, and a little patience during the repair process go a long way.
Restoring an antique garden ornament isn’t just about patching cracks; it’s about reviving a piece of history so it can keep telling its story in your garden for decades yet. If you love the look of age and patina, blend your repairs subtly and don’t worry about perfection. If you prefer them looking sharp and new, modern repair products give you lots of options. Whether you’re a seasoned collector or fixing up a family heirloom, choosing the right materials is a big step toward results you’ll be proud to show off.
Excellent guide! I really like how you broke down repair materials by ornament type—stone, terracotta, metal, etc.—since using the wrong product is one of the easiest mistakes to make. The tip about rubbing soil over new patches to blend them in is especially clever; it keeps the antique’s character intact instead of making repairs stand out.
One question: for highly valuable or historically significant pieces, do you think it’s better to attempt subtle DIY fixes or leave all restoration work to a professional conservator to avoid accidentally reducing the value?
Hi Jenny thank you for the comment. If you have had some experience restoring historical peace’s I would say yes do it, other wise let a professional do it so you don’t take the chance of losing any of the value of the peace.