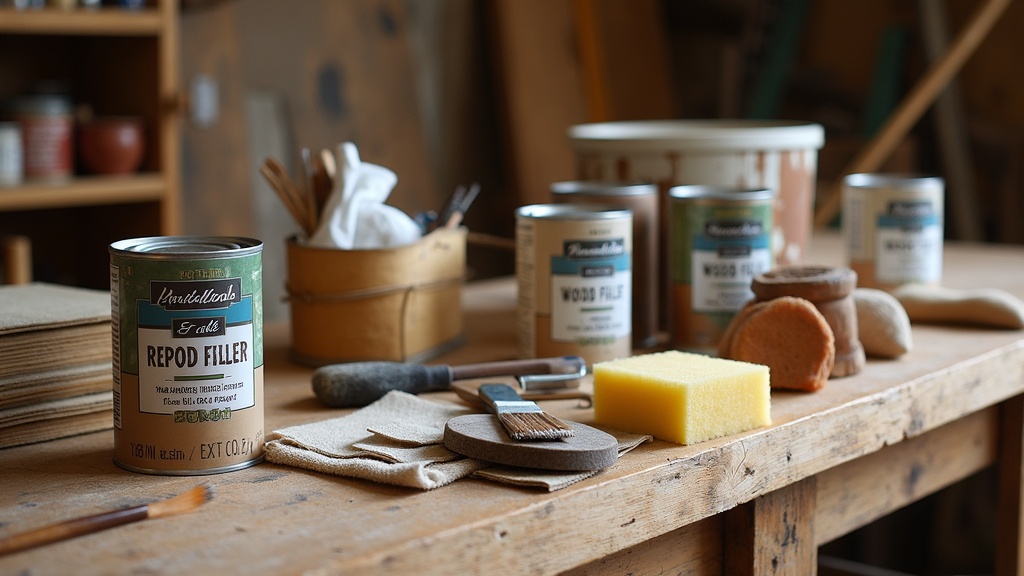
If you’ve ever tackled a restoration project, whether it’s bringing back a weathered piece of furniture or giving an old building new life, you’ve probably noticed there’s a dizzying array of products and materials out there. From wood fillers and epoxies to specialty paints and cleaners, picking the right combination can feel like a puzzle. I’ve spent a fair bit of time in the world of restoration, so I want to break down the most common products and materials, how they stack up against each other, and tips to help you pick what fits your next project.

Getting To Know Restoration Products And Materials
Restoration isn’t just about making things look better. It’s about extending their lifespan and keeping some history around. Whether you’re focused on furniture, old houses, or art pieces, restoration products all aim to protect, repair, or improve the original material. The restoration industry has grown a lot over the past decade, especially as sustainability and upcycling have picked up steam. The result? More choices than ever, and knowing exactly what each material or product does saves both time and money in the long run.
Some products work as allrounders, while others are incredibly specialized. For example, you might compare traditional wood glue with a high tech, two part epoxy for a chair leg repair, or you’ll have to decide between mineral spirits and water based cleaners for prepping a painted surface. Restorers now have more formulas, improved ingredients, and plenty of user friendly options for all kinds of skill levels and project sizes.
Common Categories Of Restoration Products
Having the right products in your toolbox makes all the difference. Here’s a quick look at the big categories most restoration projects use:
- Fillers and Adhesives: Includes wood fillers, putties, glues, and epoxies. Key for joining, patching, and building up missing areas.
- Cleansers and Strippers: This group covers solvents, degreasers, and paint strippers made to clean or strip away paint, varnish, and years of grime.
- Surface Treatments: Finishes, stains, sealants, and protective waxes protect your restoration work and give it a fresh look.
- Paints and Pigments: From touchup tints to specialty restoration paints that match historical color palettes.
- Consolidants and Hardeners: These products stabilize fragile or falling a part materials, such as crumbling plaster or wood that’s showing signs of rot.
Most projects tap into several of these categories at once. For example, if you’re repairing a cracked veneer on a wooden cabinet, you’ll need a filler, then sanding, touching up with pigment or stain, and sealing the whole surface.
Comparative Breakdown: What To Consider When Choosing
Materials aren’t all created equal. The right choice changes from project to project, depending on what you’re working with and what you need the finished result to do. Here are some important points I always keep in mind when comparing:
- Compatibility: Some fillers, adhesives, or finishes just do not play well with the original material. An oil based finish, for example, won’t stick over a waxed surface unless it is fully stripped first.
- Strength And Longevity: Two part epoxies tend to be stronger and longer lasting than standard wood glue, but they can be trickier, messier, and sometimes more expensive. The classic approach is sometimes just fine if your repair isn’t structural.
- Appearance And Blending: Fillers come in precolored versions, but those may not match antique woods right out of the container. Paints and stains have to blend well with existing finishes to keep things looking natural.
- Ease of Use: Some products are ready to use and clean up with water. Others need careful mixing or special cleanup supplies, like solvents or respirators for strong smelling strippers.
- Environmental and Safety Factors: Water based products are less toxic and gentler on the environment, but old school solvent based options are still best for tackling thick, stubborn, or weatherworn finishes.
Sometimes the simpler, less toxic option is more than enough, but other times only the stronger, more traditional product can truly step in and save the project.
Top Restoration Materials: Pros, Cons, And Practical Tips
Wood Fillers: Solvent Based Vs. Water Based
Solvent based wood fillers dry harder and are great for outdoor work or areas that take a beating. They aren’t always the easiest, because they’re sticky and need dedicated solvents for cleanup. Water based fillers are much less smelly and are a snap to clean up, making them ideal for indoor use or for spots not needing maximum strength. I usually grab a water based filler for quick indoor fixes or when I’m repainting a piece.
Adhesives: Yellow Glue Vs. Epoxy
Standard wood glue, whether yellow or white, is easy to work with and dries quickly, staying flexible for joints that shift with humidity. But reattaching a snapped off chunk or rebuilding missing corners? That’s where two part epoxy shines. It fills gaps, can be sanded when cured, and bonds well to wood, stone, or metal.
Paint Strippers: Traditional Solvent Based Vs. “Safer” Strippers
Old school, heavy solvent based strippers (like those with methylene chloride) act quickly and cut through nearly anything, but the fumes are no joke—you need proper ventilation. “Safer” versions, such as citrus or soy based strippers, work more slowly but are far easier to use indoors and are gentler on fine details, so they’re perfect for more delicate work.
Consolidants: Penetrating Epoxies Vs. Shellac Solutions
When you’ve got rotten window sills or decaying outdoor trim, penetrating epoxy consolidants soak in and solidify weak wood, making it ready for finishing and repairs. Shellac based consolidants don’t get as deep, but they have the advantage of being reversible. This is key for museums or projects where future expertise might want to adjust or reverse your work.
Surface Finishes: Polyurethane Vs. Wax Vs. Oil
Polyurethane remains a top pick for tough surfaces like tabletops and floors, forming a hard shield that handles heavy wear. It isn’t super easy to patch if scratched, though. Waxes and oils, on the other hand, can make wood grain pop and are easy to reapply. I love using oils, like tung or linseed, for reviving dry wood, topping with wax for extra protection and a soft glow.
Factors Impacting Your Choice
- Original Material And Age: Antique pieces react differently to modern materials. Old woods and finishes may soak up products in unexpected ways, so always run a small test patch out of sight first.
- Desired Durability: High traffic or frequently touched items need the strongest, toughest fillers and sealers. Decorative or rarely used items are fine with more forgiving and less heavy duty products.
- Skill Level And Tools: Beginners often keep it simple, needing fewer specialty tools or chemicals. Starter products are widely available, simple to apply, and easy to clean up if you make a mistake.
- Historical Accuracy: If you’re working on a true antique or a recognized historical property, matching the original techniques or finish is crucial to maintain value and authenticity.
- Budget: Some specialty products can be costly, but for most basic repairs, you can get great results with affordable options from your local hardware store.
It’s worth figuring out your priorities—if historical accuracy tops your list, research and source classic materials. For convenience or quick results, modern substitutes usually do the trick.
Common Restoration Scenarios And Product Matchups
- Filling Deep Gouges: Epoxy putties outperform regular wood filler for large chips and missing corners since they set rock solid and let you shape repairs before they cure.
- Refinishing Painted Furniture: For modern painted furniture, a water based stripper, followed by easy to apply acrylic finish, makes for a fast, clean update.
- Restoring Outdoor Wood: For decks or trim out in the weather, solvent based fillers and oil based sealers handle moisture and sun much better over time.
- Fixing Crumbly Plaster: Hairline cracks? A patching compound or shellac consolidant usually handles them well, but big gaps or holes need heavy duty, sandable plaster or acrylic fillers.
Frequently Asked Questions
Q: Do I always need the original products for authentic restoration?
A: Authenticity really matters for professional work, but for your own projects, you can usually use modern products for similar looks. Try to match the finish and overall feel if you want it to look period correct.
Q: Are “ecofriendly” or low tox materials as effective?
A: Most are totally fine for light jobs or indoor uses. Sometimes, though, heavy solvents or old school methods are best for stubborn finishes and outdoor repairs.
Q: How do I test a new product safely?
A: Always test in a hidden spot first—watch for weird reactions before applying to a major area. Good ventilation and protection with gloves and a mask are smart ideas, too.
Final Thoughts
Restoration is equal parts science and art. Stumbling upon the right products means knowing how they interact with your materials and what you hope for at the end. Always read product directions, see what other users are saying, and don’t be afraid to experiment in a small spot first. Whether your focus is repair, historical preservation, or creative revamp, a little comparison of materials and careful testing will give you results that last and look fantastic.

This guide really shows the thought that goes into choosing restoration products. I liked how you compared solvent based fillers with water based ones. It helps me see when to use each one. The advice about balancing strength, appearance, and safety is very practical. I also enjoyed learning that modern products can work well even if you want a traditional look. This post makes restoration feel possible for people of all skill levels.