
Cracked ceramic garden ornaments can really take away from the beauty of your outdoor space, but there’s no reason to toss them out right away. With some patience and the right supplies, you can often bring those cracked frogs, gnomes, and decorative pots back to life. In this guide, I’ll show you practical strategies I use for fixing cracked ceramic ornaments, along with tips to help keep them looking great for seasons to come. Whether you have a sentimental garden gnome or a decorative planter, you’ll be surprised how much a little effort can help preserve their charm.
Why Fixing Cracked Ceramics Is Worth It
Outdoor ornaments add tons of personality to gardens, patios, and porches. Weather, accidental bumps, and temperature changes can easily cause cracks or chips. Some people think a break means the end, but most ceramic pieces are easier to repair than you might expect. Bringing a damaged ornament back to life not only saves money but also cuts down on waste and keeps those sentimental decorations around longer.
Most ceramics used for garden ornaments are semiporous, which means they can absorb water and sometimes expand or contract with the seasons. This leads to cracking over time, especially if they’re not sealed properly. A little know-how goes a long way when it comes to fixing these problems, and every repaired piece adds unique character and history to your garden.
Supplies and Tools You’ll Need
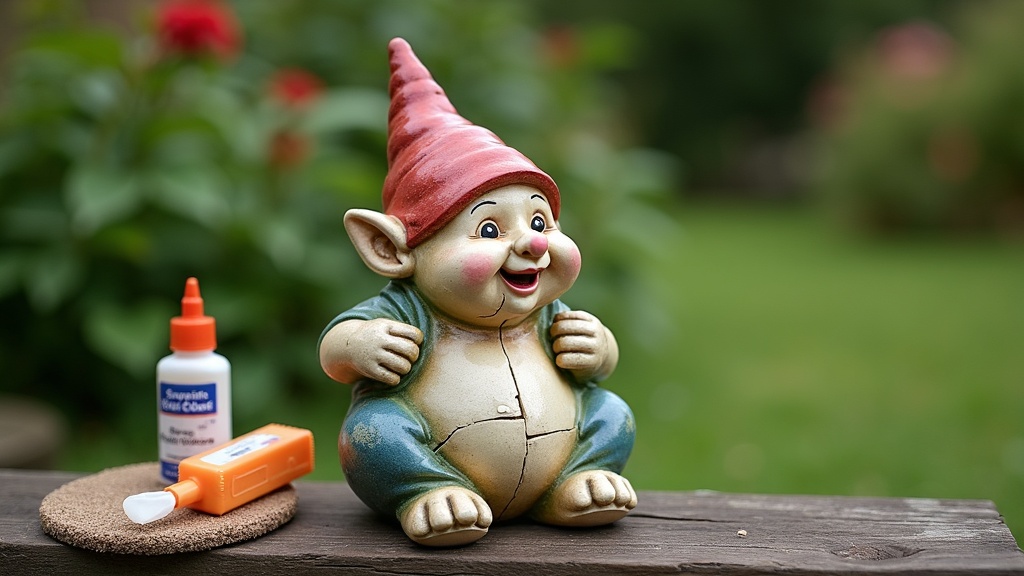
Repairing cracked ornaments doesn’t call for prolevel gear, but having a few specific supplies makes the process much easier. Here’s my go-to list:
- Ceramic adhesive: Choose one labeled waterproof and weather resistant.
- Two part epoxy: Really helpful for bigger breaks and pieces that need extra strength.
- Fine sanding sponge or sandpaper (220-400 grit): For smoothing out any glue residue or rough spots.
- Cotton swabs or toothpicks: Useful for working glue into tight spaces and applying small amounts neatly.
- Painters tape or masking tape: Handy for holding pieces together as they set up.
- Small brush or cloth: For cleaning dust and applying glaze.
- Clear outdoor sealant: Adds an extra layer of protection against the elements.
Step-by-Step Guide to Repairing Cracked Ceramic Garden Ornaments
I follow a pretty straightforward process when working on garden ornaments. Here’s how I handle most crack repairs:
- Clean the Ornament: Dirt, algae, or loose fragments prevent glue from bonding well. I use soapy water and a soft brush, then let it dry thoroughly before starting repairs.
- Check the Damage: For tiny hairline cracks, a thin ceramic adhesive usually does the trick. For major cracks or pieces that have completely separated, two part epoxy is usually a safer bet that adds real staying power.
- Apply the Adhesive or Epoxy: Following the product instructions is crucial for lasting repairs. I use a toothpick to get glue into fine cracks, or a small spatula for bigger jobs. A thin layer is best—a little goes a long way.
- Hold Pieces Together: Masking tape or gentle pressure keeps parts in place while the adhesive sets. Some glues are fast drying, but epoxies can take several hours or even overnight, so patience pays off.
- Sand, If Necessary: Once the glue dries, I lightly sand any excess for a smooth look. Go gently to avoid scratching the surrounding glaze—that helps the finish stay looking good.
- Touch Up the Finish: If cracks are visible or repairs removed color, I use outdoor acrylic paint or ceramic paint for blending and touchups. Layering thin coats is a trick that brings the best results.
- Seal the Ornament: A layer of out door safe clear sealant guards your repair from rain or frost, keeping things fresh longer and stopping future water damage.
Common Challenges When Repairing Garden Ornaments
Even with good prep, there are some issues you might run into along the way. Here’s how I handle the most common ones to keep repairs looking sharp and sturdy:
Glue Squeeze Out
Adhesives tend to ooze out when you press cracked areas together. I use a damp cloth or cotton swab to gently wipe away excess right away. If the glue dries, careful sanding does the trick. Don’t wait too long to clean up, especially with colored or glossy ornaments.
Cracks That Keep Spreading
If a crack keeps growing, it often means water was trapped inside or freeze-thaw cycles are at play. Make sure the piece is absolutely dry before gluing. Occasionally, I’ll drill a tiny hole at the tip of a long crack to stop its progress—just choose an inconspicuous spot.
Matching Old Colors and Finishes
Older garden ornaments fade and weather differently, so sometimes repair paint doesn’t blend right in. I like to mix two or three matching shades and do some light dry brushing to match textures. Always test combinations on a hidden spot first for a better match. Sometimes, a wash of very diluted paint does wonders for blending repairs with weathered ceramics.
Handling Fragile Pieces
Small or detailed sections are prone to chipping off. If a chunk is missing, make a filler using two part epoxy. Shape it with a toothpick while still soft, then sand it smooth once cured. Paint over it to blend in—the repair will be barely noticeable unless you look very closely.
Long Term Care for Repaired Ornaments
After fixing an ornament, there are a few ways to help it stick around:
- Keep ornaments in sheltered spots so they avoid harsh wind, direct downspouts, or heavy falling debris from trees or roofs.
- Move them inside for winter if you live in an area that gets freezing weather. That keeps repaired joins strong for the next season.
- Check repairs seasonally and touch up paint or sealant as needed, stopping moisture from sneaking in and causing new trouble.
Tips For Preventing Future Cracks
- Prop up ornaments slightly instead of letting them sit in puddles. A couple of flat stones or a tile underneath can make a big improvement for water drainage and longevity.
- Pick outdoor-rated paint and sealant for any touch-ups or decorating. Indoor materials wear away quickly in full sun, moisture, and temperature swings.
- Lift from the base when moving—not by fragile handles or arms. Always pad and wrap delicate items if you’re storing them in the off-season, cutting down chances of accidents.
My Experiences and What’s Worked Best
Through the years, I’ve learned that not all glues are equal—regular super glue fails much sooner outdoors than a proper ceramic adhesive or epoxy. For heavy or broken ornaments with missing bits, epoxy lets me build up, shape, and even color in missing details. Allowing plenty of time for adhesives and sealers to cure makes repairs last far longer and keeps old favorites out in the garden, instead of tucked away on a shelf.
One of my favorite saves was a ceramic rabbit that had split down the side after a hard freeze. With patience, the right glue, and careful blending of touchup paints, the repair lines became almost invisible. Two summers later, it still looks great. Efforts spent blending colors or matching paint might seem small, but the effect adds up. Many visitors can’t even spot the repaired sections unless I point them out.
If you’re ever in doubt, keep in mind that practice makes perfect. Start with less visible repairs and experiment with techniques until you have confidence for more eye-catching pieces. In a way, these repairs become part of the ornament’s story.
Frequently Asked Questions
Question: Can cracked ceramics be fixed without special tools?
Answer: Most repairs need just basic supplies like adhesive, a paintbrush, and sandpaper. Extra tools are handy if you get into big repairs, but most projects are manageable without them.
Question: Will repaired ornaments still hold up outdoors?
Answer: With the right glue and a durable outdoor sealant, repaired pieces generally handle sun, rain, and wind well. Bringing them inside during tough winter weather helps repairs last even longer.
Question: What if I can’t match the color exactly?
Answer: Mix a couple of paint shades or add a light wash of tinted glaze to get close. Most folks won’t spot the difference unless they’re looking for it.
Question: Are there any cracks that shouldn’t be repaired?
Answer: If too much is missing or the piece can’t support its weight, sometimes it’s best to retire it and repurpose fragments for use in mosaic projects. But most cracks and chips can still be fixed with care and patience.
Wrapping Up
Giving new life to cracked ceramic garden ornaments doesn’t require fancy equipment or years of experience. With careful cleaning, a strong adhesive, and a pinch of creativity when blending paint, even the most weathered piece can look nearly new. These repairs let your favorite garden decorations keep spreading cheer and adding character to your outdoor spaces for many more seasons.
**Here’s a little transparency: Our website contains affiliate links. This means if you click and make a purchase, we may receive a small commission. Don’t worry, there’s no extra cost to you. It’s a simple way you can support our mission to bring you quality content.**
This article was such a helpful and refreshing read! I love how you broke down the repair process step by step, making it feel approachable even for someone like me who isn’t too handy with DIY projects. The emphasis on long-term care and prevention really stood out, because it shows that repair isn’t just about fixing the crack but also about extending the life of something sentimental. I’ve had a few garden pieces I almost tossed. Now I’m inspired to give them a second chance. Do you think epoxy repairs can hold up just as well in humid or tropical climates as they do in freezing ones?
That’s such a great question—and I love that you’re giving your garden treasures a second chance instead of tossing them! ????✨ You’re absolutely right: repair isn’t just a “quick fix,” it’s about future-proofing those sentimental pieces.
As for epoxy in different climates:
Humid/Tropical climates – Epoxy generally does well, but moisture can sneak into hairline gaps if the piece isn’t sealed properly. A good UV-stable, waterproof sealant on top will keep things from softening, yellowing, or peeling in that damp air. Bonus tip: silica sand or fine gravel around the base improves drainage so water doesn’t pool and creep into the repair.
Freezing climates – The challenge here is expansion and contraction. Epoxy itself is tough, but pairing it with a flexible outdoor sealant (like a polyurethane topcoat) helps absorb those freeze–thaw cycles and prevents new cracks.
So in short—yes, epoxy can thrive in both climates, but it needs the right “sidekick” (sealant, drainage, and sometimes shade) to stand up to the unique stress each environment throws at it.
Here’s a fun little “climate-proof epoxy toolkit” you can keep in your back pocket for just about any garden rescue mission:
1. Seal & Shield ????️ – Always finish repairs with a UV-stable waterproof sealant. In the tropics it blocks humidity, and in colder zones it stops ice from sneaking into micro-cracks. Think of it as sunscreen + raincoat for your statue.
2. Drainage Helpers ???? – A handful of gravel, silica sand, or even a slim rubber pad under the base keeps water from pooling. It’s a simple trick that stops both swampy sogginess and freeze–thaw stress.
3. Flexible Friend ???? – Pair epoxy with a flexible outdoor caulk or polyurethane layer around stress points. It moves with the material instead of fighting against it, which keeps repairs from popping loose when the weather swings.
Put those three together and you’ve basically got superhero armor for your garden pieces—ready for sun, storm, or snow. ????????️❄️
It’s so much easier to “see” the toolkit in action. Here’s a quick walk-through you can picture:
???? Example: Stone Birdbath
Seal & Shield → After epoxying a crack, you brush on a clear UV/waterproof sealant so the bowl doesn’t soak up rainwater like a sponge.
Drainage Helpers → Place a hidden paver + thin gravel layer under the pedestal so water runs off instead of pooling around the base.
Flexible Friend → A bead of outdoor caulk around the joint where the bowl meets the stem lets it flex instead of snapping when temps drop.
???? Example: Resin Statue
Seal & Shield → Spray with a matte UV-protectant topcoat to stop fading in strong sun.
Drainage Helpers → Elevate slightly on rubber pads so tropical rains don’t leave the base sitting in puddles.
Flexible Friend → Use a flexible sealant along hairline seams (like wings or arms) so they don’t shear off in high winds or shifts.
It’s kind of like giving each piece its own little climate-adapted outfit—raincoat, boots, and stretchy belt included. ????️????✨