
Antique garden statues are a special piece of outdoor history. Seeing one standing proud in a yard or park, worn but still beautiful after decades or even centuries, always makes me pause and appreciate the stories these statues could tell. Restoring these works takes more than just elbow grease. There’s research, a steady hand, and a real love for preserving the past. I’ve gotten my hands dirty on a few of these projects, and I keep finding there’s more to learn every time. This guide pulls together some of my best tips, a few stories from others, and practical insights for anyone thinking about bringing an old garden statue back to life.
Understanding the Appeal of Antique Garden Statues
It’s easy to see why people fall in love with antique garden statues. Whether it’s a weathered cherub, a stoic lion, or a moss-dappled goddess, these figures bring personality, artistry, and a quiet sense of history to any green space. I always feel like a well-aged statue can make even the plainest garden feel enchanting. Garden enthusiasts and history buffs alike feel a strong pull to save these artifacts from crumbling away.
The appeal goes beyond looks, it’s also about connection. Many statues have roots in a family’s history or were once focal points of public parks. Bringing them back is way more than just patching cracks or scrubbing moss; it’s about holding onto those memories.
Restoration Basics: What Makes Antique Garden Statues Special?
No two statues are exactly alike, and older pieces love to throw surprises your way. Restoration isn’t just about aesthetics. The material—stone, concrete, terracotta, cast iron, or even lead—affects every single step. Many older statues contain hand-sculpted details and unique pigment washes, so you have to be careful to not lose any character in the process.
- Stone: Marble and limestone look gorgeous but are both pretty soft and can dissolve or stain with harsh cleaners. Old statuary often shows chips, weathering, or biological growth.
- Concrete: A lot of 20th-century statues were made with concrete and have their own quirks, like cracked surfaces, exposed rebar, or chunks missing.
- Terracotta: These clay based statues are super porous. Water damage, chipping, and frost cracks are common. Terracotta can be fragile.
- Metal: Cast iron, bronze, and lead all call for different tools. Rust, corrosion, and warping are typical headaches here.
Every material has its own secrets, and it pays to know what you’re dealing with before busting out the scrubbing brush.
Personal Stories from the Garden Path
I remember the first statue I restored. It was an old cast concrete rabbit that had sat in my grandmother’s backyard for decades. Its ears were broken, and a stubborn moss patch had nearly swallowed a whole side. I started off with the wrong scrubbing pad and almost erased the last bits of original paint clinging to the concrete. That was a lesson I won’t forget: take it slow and do your research before touching anything fragile.
Molly, a local restorer I chat with at community meetups, told me about a time she found marbles embedded in the base of a Victorian cherub statue. Turns out, these were original decorations meant to reflect light, and she nearly tossed them out while cleaning.
Old statues always seem to hide stories like these. Whether it’s a signature under a weathered base or a color that comes back to life after cleaning, part of the magic is uncovering pieces of the past you didn’t know were there.
Key Steps: How Restoration Usually Works
Every restoration job is a little different, but here’s how most projects go for me:
- Research and Assessment: This starts with poking around for maker’s marks, signs of past repairs, and figuring out what materials you’re working with. Sometimes I’ll check old photos or catalogs to see how a statue originally looked.
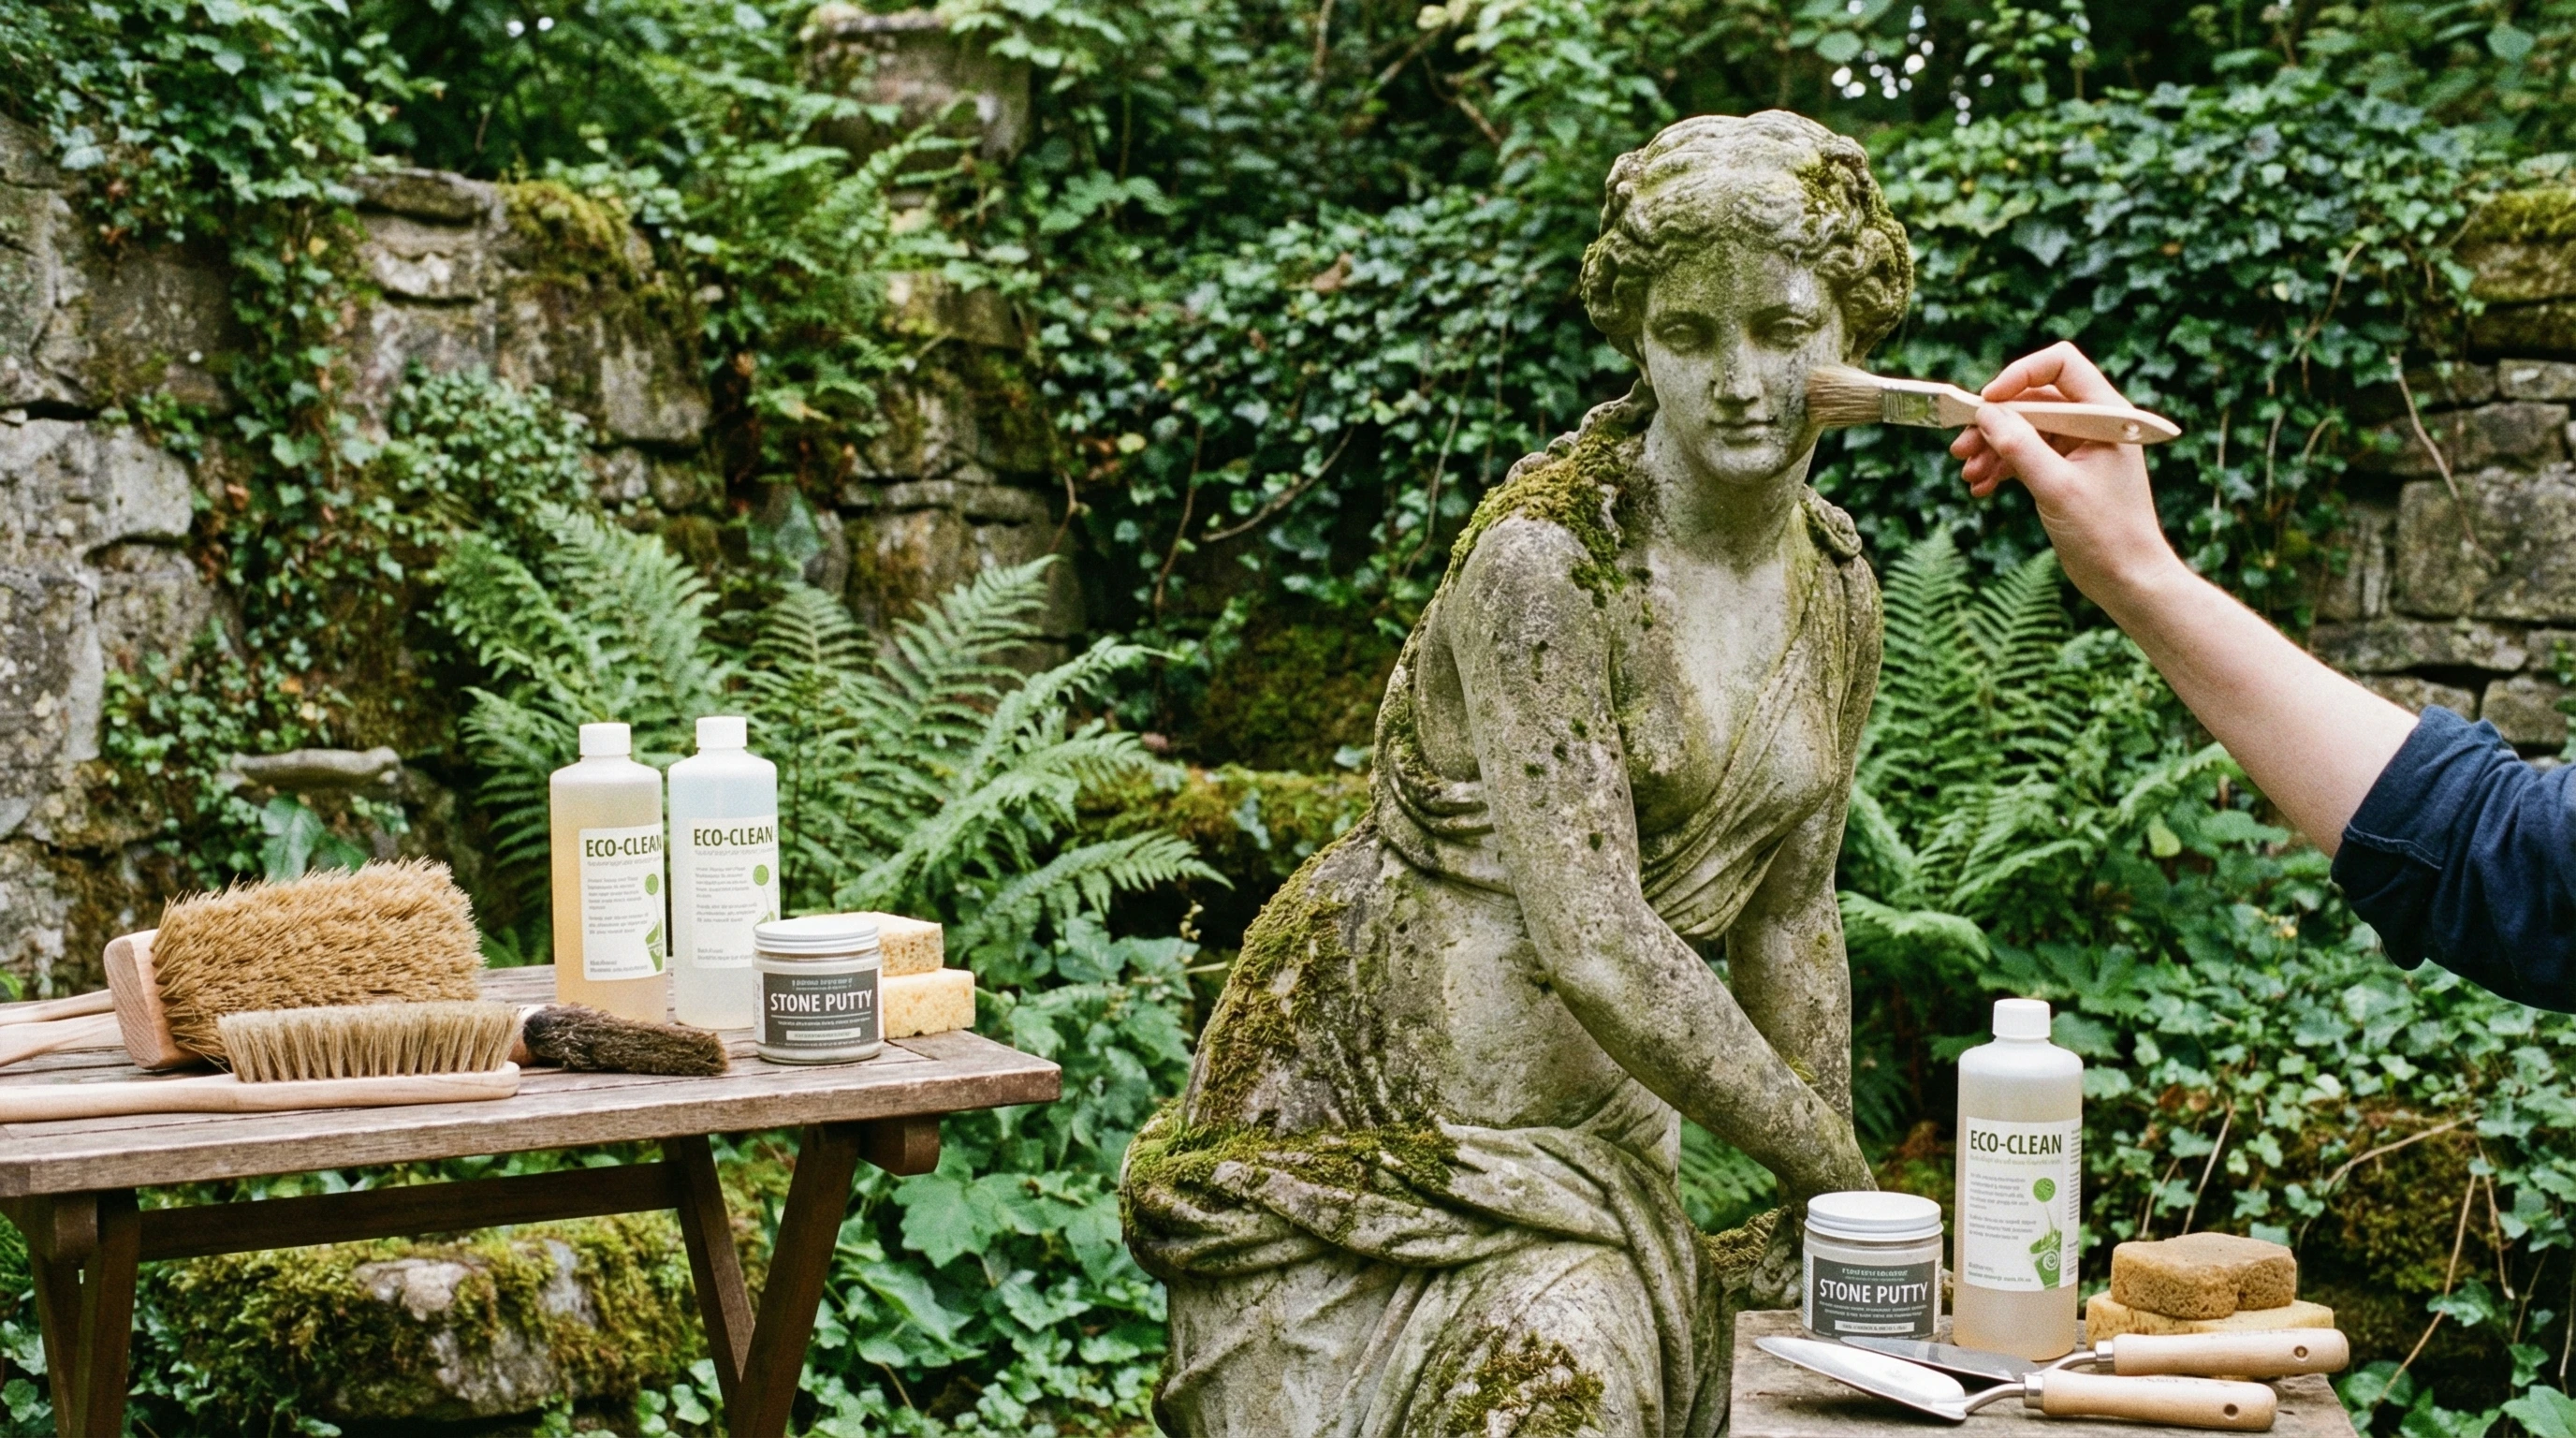
- Gentle Cleaning: Most garden statues pick up decades of grime, moss, and lichen. I always recommend starting with the least aggressive cleaning method: soft brushes, water, and maybe a little nonionic soap. Avoid power washers, they eat away delicate details.
- Stabilizing Damage: If there are cracks or missing chunks, it’s best to carefully stabilize these first. This can mean pinning broken pieces together or injecting special adhesives into hairline cracks.
- Repair Work: Filling gaps, sculpting lost features, or bonding split sections back together. For fancy statues, I’ve seen restorers mix up their own lime based mortars or tinted resins to get the right look.
- Surface Finishing: This often means color-matching repairs to the original statue, sealing the surface, and doing whatever you can to blend old with new. Patience here pays off: the goal isn’t a shiny new look, but rather a gentle renewal that respects the statue’s age.
I like to photograph every step. Not only does it document the process, but it’s also super satisfying to look back at a before and after lineup when you’re done.
Common Challenges When Restoring Garden Statues
Restoring something that’s spent years or centuries in the elements is never straightforward. Here are some curveballs I often run into:
- Stubborn Lichen and Moss: Nature is persistent. Some growths dig deep into porous surfaces. Overly aggressive cleaning can cause more harm than good.
- Structural Weakness: Statues, especially those with thin parts (arms, wings, drapery), may have hidden cracks or loose fittings. Even picking up a statue carelessly can snap an old repair.
- Previous Bad Repairs: I’ve lost count of how many statues I’ve seen patched with hardware store cement or covered in unbreathable latex paint. Reversing these take time and patience.
- Missing Bits: Sometimes the original hands, heads, or bases are gone. Replicating these in a way that doesn’t look fake can be tough.
- Metal Decay: Rust eats away at iron or bronze pieces, and corrosion can turn lead statues brittle.
I’ve learned that every project is an exercise in problem-solving. Getting creative, within limits, usually leads to the best results. If you’re itching for a bigger challenge, try tackling statues with multiple materials mixed together—they often take a bit more sleuthing and debate to get right.
Picking the Right Tools and Materials
Having the proper gear on hand makes a real difference. Here’s what I always keep close when working on antique garden statues:
- Soft Brushes: Natural bristles for cleaning off dust, moss, or loose lichen. Old toothbrushes are handy too.
- Plastic and Wooden Tools: I avoid metal scrapers since they can gouge soft surfaces. Plastic palette knives and wooden spatulas do the trick.
- Ethanol or Biocidal Cleaners: For stubborn biological growth. Always test a small patch first.
- Epoxy Putty or Lime Mortar: Used for filling chips and reconstructing details on stone or concrete. The right choice depends on the statue’s material and desired look.
- Colorant Pigments: For blending repairs into the existing finish. Sometimes natural pigments or weather resistant acrylics work best, depending on exposure.
- Sealant (if appropriate): A breathable, UV stable sealant protects some types of stone after restoration. Skip waterproof coatings unless you’re certain they won’t trap moisture.
I always remind people to choose products made for historical preservation when possible. Modern shortcuts might look good at first, but can damage a statue in the long run. Choosing the wrong filler or adhesive may worsen damage down the road, especially on statues that endure freezing and thawing cycles each year.
Techniques That Get the Best Results
Clean, repair, blend—sounds simple, but every part takes a thoughtful touch. Even seasoned restorers can find new tricks, so I keep notes on what works and what doesn’t for different statue types.
Cleaning with Care
Most statues clean up nicely with water, a soft brush, and a gentle touch. Pressure washing might seem tempting, but it’s usually too harsh. On stone, cleaning with diluted biocidal solutions and a soft brush usually lifts heavy growth over a few weeks. I always rinse thoroughly with clean water to avoid residue.
Repairing Cracks and Missing Pieces
I use conservation grade fillers on anything historic. For a stone statue, a lime based mortar matched to the original color blends best. On concrete, a fine grit repair epoxy can be shaped and sanded. If I’m rebuilding a missing part, sometimes I’ll use clay models to shape a replacement, then cast it in a compatible material.
Pinning is helpful too. If an arm, wing, or base broke off, I drill small holes and use stainless steel pins with adhesive to strengthen the joint. It’s tricky, but worth the effort for a long-lasting repair.
Finishing Touches
Blending repairs into old surfaces takes practice. Pigment washes, tinted mortars, or very diluted paint all help repairs “disappear” into the aged look. My guiding rule: don’t make anything look newer than it should. A slightly imperfect match always looks better than a bright, shiny patch. Consider using a little extra pigment to mottle new surfaces so they don’t stand out against older stone or concrete.
Stories From Experienced Restorers
Other restorers have shared some lessons I keep in mind on every project. Olivia, who works almost exclusively with Victorian era cherubs, once uncovered traces of blue tinted marble on a statue that had gone gray over time. She traced the pigment back to the original maker and carefully rebuilt the color with hand mixed mineral stains. The result looked timeless without being fake.
Anthony, a metals expert, recounted the challenge of stabilizing a heavily rusted cast iron horse. He applied rust converters, filled pits with a color tinted epoxy, and finished with specialty paint that let some of the original surface show through. The statue still looks its age, but it’s finally safe from weather for years to come. He told me it’s rewarding to see a statue looking right at home again, no matter how old it actually is.
New Solutions for Old Statues: Tech and Trends
Technology has made restoring garden statues a bit easier and a lot more accurate. 3D scanning and modeling help replicate missing details. I’ve watched restorers scan a broken finial, then print a mold for a replica piece that slots right onto the original. High-res photography helps track progress and spot changes in the stone’s condition over time.
That said, nothing replaces the human touch. Most experts I know still swear by hands-on repairs and careful selection of materials. The latest tools just help make old statues last even longer without losing their character. Some teams now use drones to photograph tall or delicate statues, making it easier to spot weathering or cracks in hard-to-reach places. Combining new tools with old-school techniques generally brings out the best results for both statue and restorer.
Restoration Tips for Beginners
- Start With Small, Low Risk Projects: Practice on inexpensive or badly damaged items to get a feel for tools and materials.
- Do Your Homework: Look up materials and styles before you begin. Online forums, library books, and museum websites are pretty handy for reference.
- Go Slow: Rushing a repair usually leads to mistakes. It’s better to spend extra time blending and finishing, especially on visible details.
- Test Everything: Try new cleaners or fillers on a hidden area first to see how they react.
- Ask the Pros: Don’t be shy about reaching out to professional conservators or local antiques groups with questions. Most people love to help!
Keeping a well-organized photo record helps build up your confidence and lets you track what works (and what doesn’t) project after project. As you gain more experience, you’ll find yourself building a collection of small tricks and tips, making each restoration easier and more successful.
Frequently Asked Questions
Q: Can every statue be fully restored?
A: Some statues have lost too much or are too fragile to handle a full restoration. Partial repairs or just a gentle cleaning sometimes work best. A professional can give a realistic idea of what’s possible.
Q: What cleaning products are safe for garden statues?
A: Stick with gentle, pH neutral soaps, soft brushes, and plenty of water. Harsh chemicals and power tools can cause permanent damage to most antique materials.
Q: Should I seal my statue after restoring it?
A: Sealing can help protect some porous materials, but only with the right, breathable product. Trapping moisture inside can turn minor cracks into major problems. Always research or consult before applying any sealant.
Why Restoring Garden Statues Matters
For me, bringing an antique statue back to life isn’t just about patching cracks or cleaning dirt. It’s about preserving a piece of outdoor heritage; something that friends, family, and even strangers can enjoy for years. Every time I see a freshly restored statue, I’m reminded that a little care can keep these outdoor treasures standing strong for the next generation. There’s genuine satisfaction in knowing you’ve protected a small but meaningful piece of the past. If you take your time, every restoration project, no matter how small, helps keep history alive in everyday spaces.
I really love the history and perseverance behind restoring antique garden statues. You can feel the respect for the past and the patience it takes to bring these pieces back to life. This article made me appreciate how much care and learning goes into preservation. It’s inspiring to see history protected instead of replaced.
Thank you so much, AJ! That really means a lot to me ????
Restoring antique garden statues truly is about respect—respect for the hands that made them, the stories they’ve witnessed, and the patience it takes to let them live on. Every crack, repair, and lesson learned is part of that journey. I love that you picked up on the perseverance behind it—preservation over replacement keeps history breathing ????????️
I’m grateful you took the time to share this—it’s comments like yours that remind me why this work matters.
With Gratitude
Much Love
Good Luck & Have Fun
Richard