
Plant marker signs aren’t just about remembering what you planted. These little garden helpers can transform your whole gardening experience. If you’re like me and sometimes can’t remember if that green seedling is basil or mint, creative markers come in pretty handy. Plus, garden marker signs add a splash of personality to your outdoor or indoor space. Here’s how you can keep your beds, pots, and rows tidy and fun, and let your creative side shine.
“Here’s a little transparency: Our website contains affiliate links. This means if you click and make a purchase, we may receive a small commission. Don’t worry, there’s no extra cost to you. It’s a simple way you can support our mission to bring you quality content.”
Why Plant Marker Signs Matter
Garden marker signs are more than just useful. They bring order and character to any garden. If you’re growing veggies, herbs, or flowers, markers help you track what’s growing and where. Kids love them for scavenger hunts, and guests get a kick out of seeing quirky plant labels. Even experienced gardeners will tell you that good markers save time and keep your layout organized. There’s a certain charm to a garden that looks tidy, labeled, and welcoming to visitors (and to yourself when you forget which patch the carrots are in).
As gardening gets more popular, people are looking for simple touches to personalize their space. DIY plant markers are easy to craft, and there are tons of fun materials or designs to try. Whether your style is farmhouse, modern, vintage, or whimsical, marker signs are an easy way to make your garden unique.
Key Materials and Ideas for Plant Marker Signs
Markers can be as simple or as fancy as you want. I’ve experimented with several types, and each has its perks. Here are some popular options worth checking out:
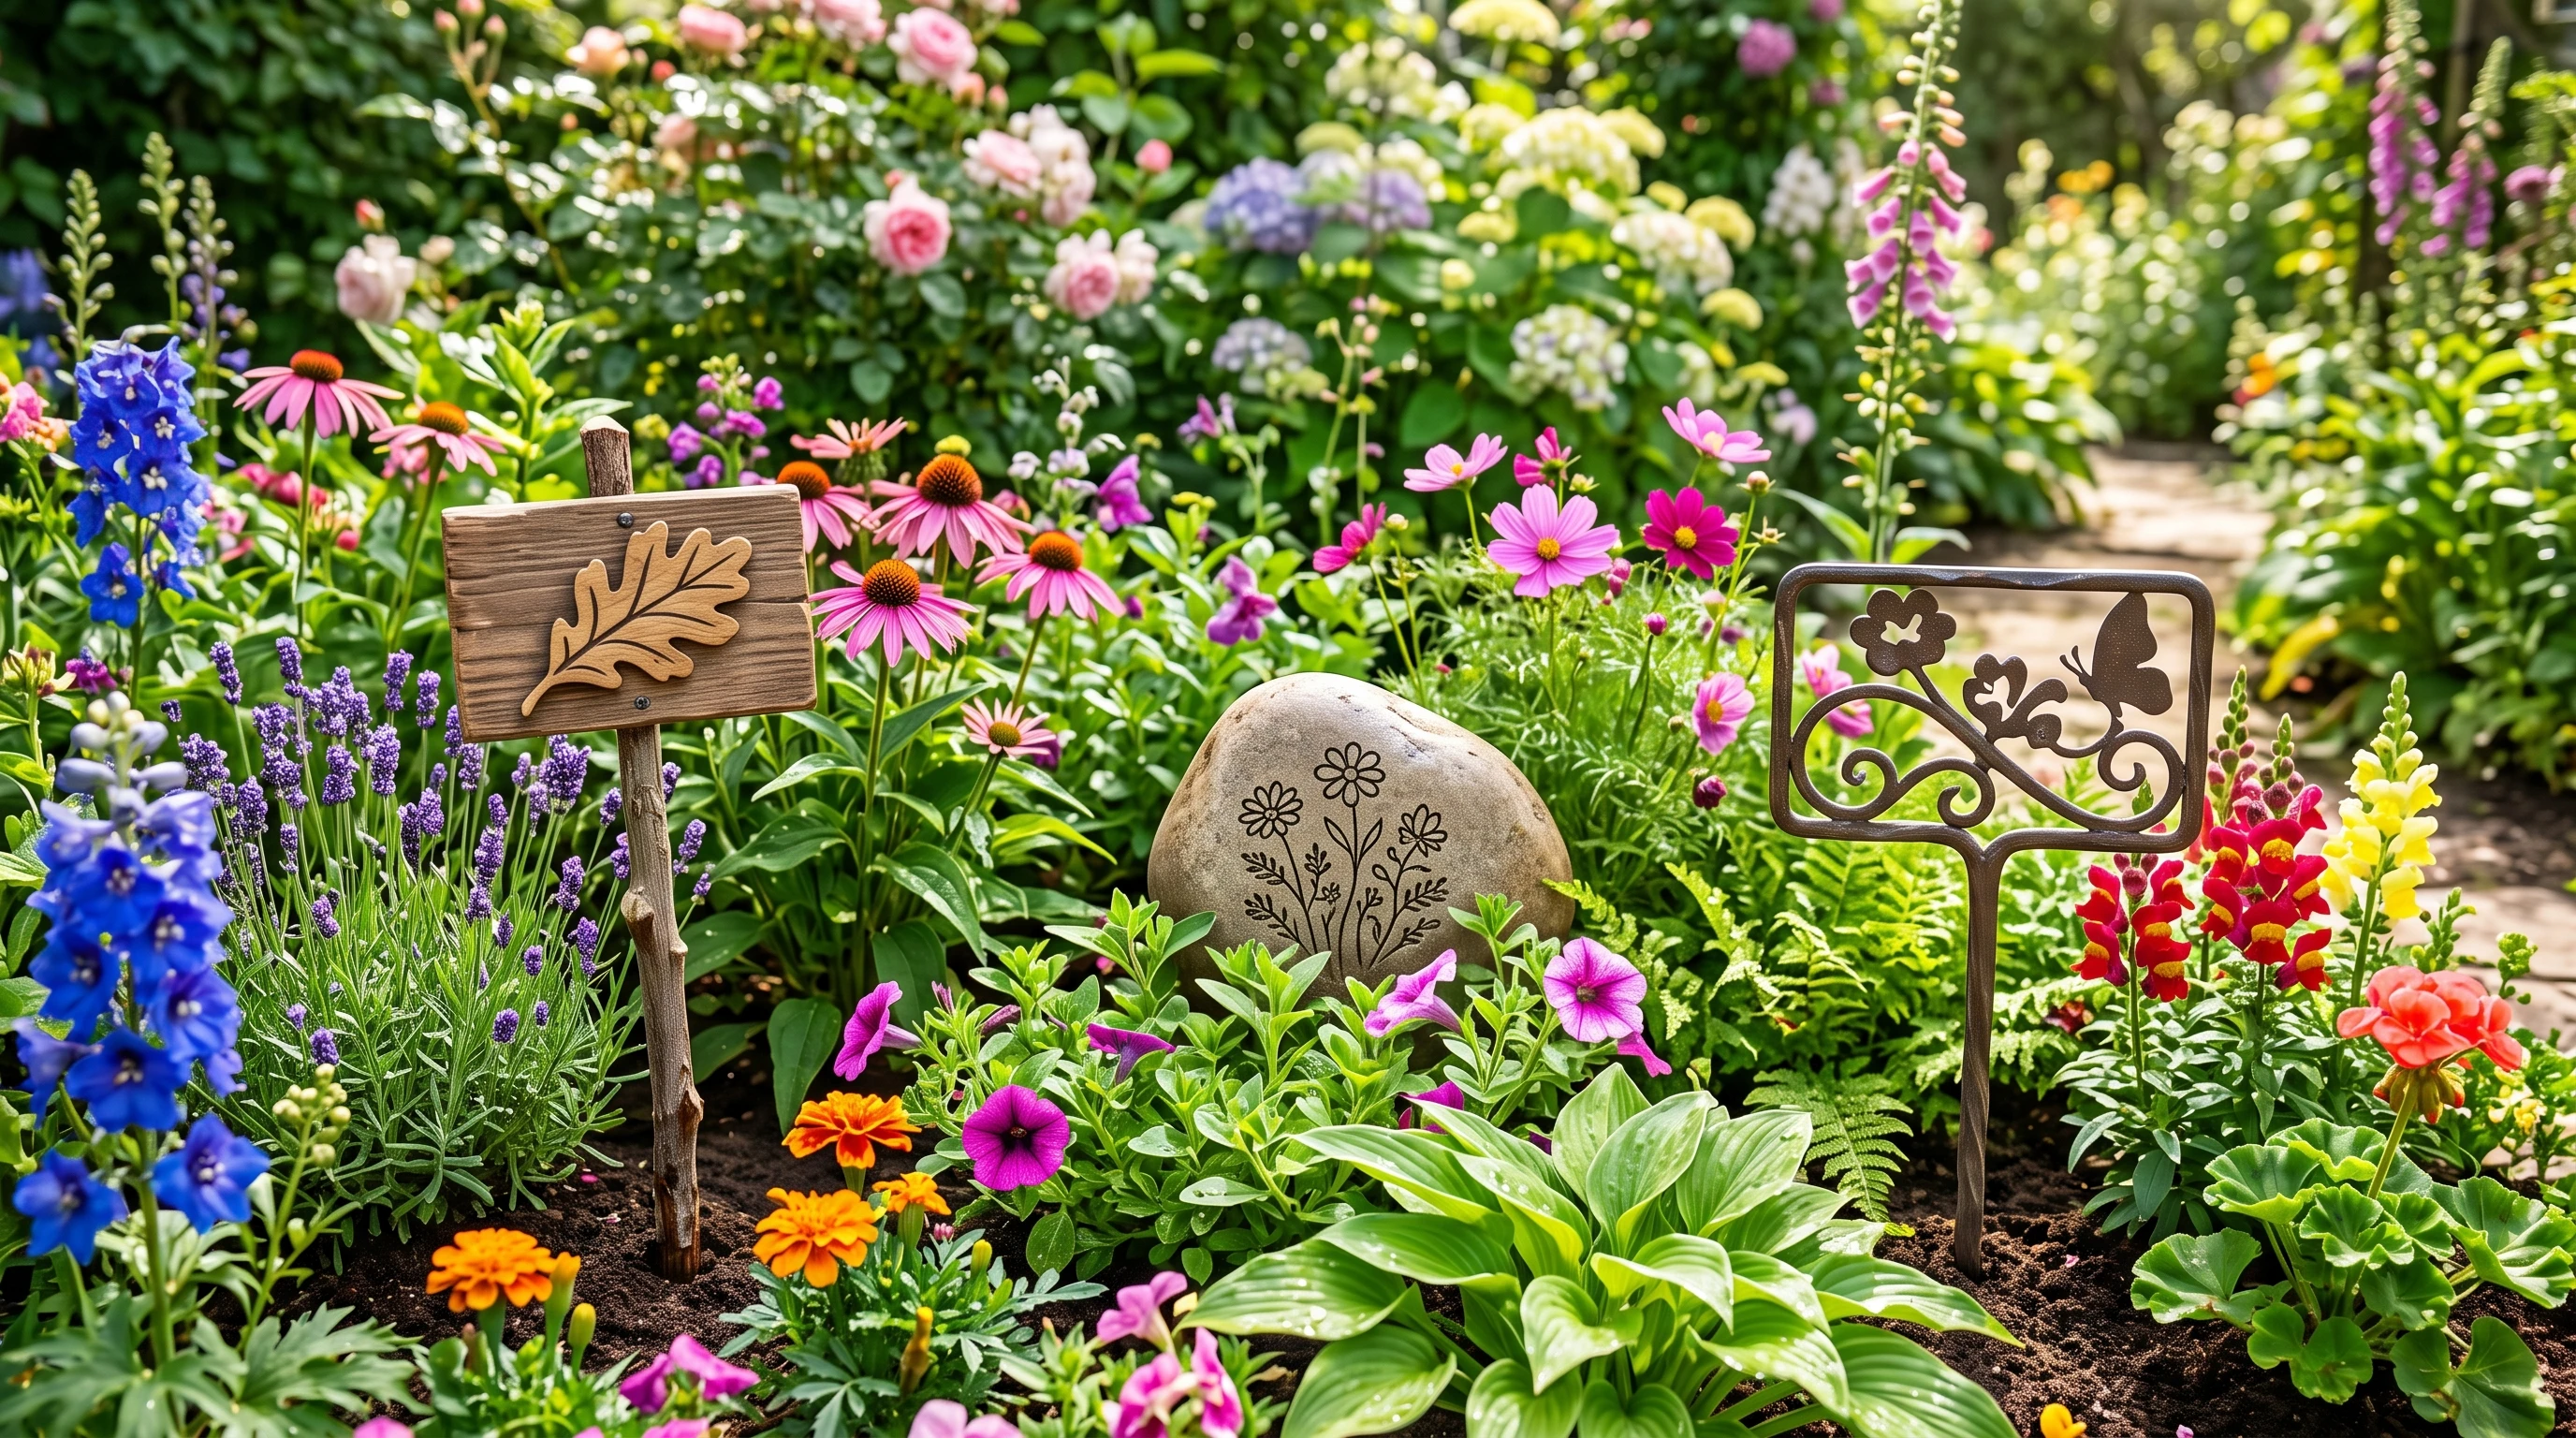
- Wooden markers: Popsicle sticks, wooden spoons, or craft sticks. Easy to write on and paint, these fit most garden styles.
- Rocks or stones: Paint flat stones and label them with waterproof markers. These last for several seasons and look natural in garden beds.
- Metal signs: Old spoons, forks, or even tin ties from coffee bags work well for punch-stamped or written labels. They age nicely and add a rustic vibe.
- Terracotta pots: Write or paint directly on mini pots, then half-bury them upside down to create visible markers.
- Plastic tags: Robust and weatherproof, these can be bought or made from cutup yogurt containers or blinds.
There’s no single right material. Use whatever you have on hand or fits your look. Just make sure paint or ink is weather-resistant, especially if you’re labeling outdoors.
Fun Ways to Personalize Your Garden Signs
The real fun begins when you jazz up those markers. Sometimes, I make rainydays into marker painting projects and get the kids involved, too. Here are some cool ideas I’ve tried or spotted:
- Chalkboard paint: Coat surfaces and use chalk pens for easily changing labels.
- Stamped spoons: Use metal stamps for permanent and classic looking tags with vintage cutlery.
- Illustrated markers: Add little drawings, like a tomato cluster for tomatoes or leafy outlines for herbs.
- Punfilled labels: Go for silly names: “Lettuce Grow,” “Thyme Flies,” and “Dillightful.” Guests always notice the humor.
- Colorcoded signs: Assign colors to plant types (green for herbs, red for veggies, yellow for flowers) to spot groups instantly.
A dash of personal flair boosts garden appeal. Not only does it look great, but it also keeps things cheerful if you’re out early weeding or harvesting.
Getting Started: A Quick Guide to Making DIY Plant Markers
You don’t need a ton of fancy supplies for great garden tags. Most of my DIY projects start with things lying around the house. Here’s a step-by-step to whip up basic yet creative signs:
- Pick your base material: Clean off sticks, stones, tiles, or utensils. If it’s wood or metal, sanding helps paint or marker stick better.
- Paint or prime (optional): If you want a background color, add a quick coat of acrylic paint or chalkboard paint. This helps the label pop against green foliage.
- Write or decorate: Use weatherproof markers or paint pens to add plant names, doodles, or color accents. Avoid regular ink as it fades quickly.
- Seal for durability: A handy spray or brush-on sealant keeps your work looking fresh through sun, rain, or splashes from the watering can.
- Push into soil or tie on: Most sticks or spoons push right in, while rocks simply sit on the earth. For tieons, punch a hole and string with twine or wire.
This process can turn out everything from simple wooden tags to elaborate painted stones. It’s easy, budget friendly, and adds lots of personality to your plants.
Tips for Keeping Your Plant Markers Looking Good
Durability is super important with outdoor markers. Here are a few tricks I’ve picked up:
- Choose nonporous or sealed materials (like rocks, painted wood, or metal).
- Label both sides so it’s readable from different angles.
- Reapply sealer every year if markers are exposed to lots of rain or sun.
- Stay away from permanent marker only. Even “permanent” markers can fade quickly in sunlight or wet conditions. Use paint pens or engraved/stamped options for anything long term.
Helpful Reminders for Selecting the Best Plant Signs
Every garden has its little quirks, so what works for someone else might need adapting for your setup. Here’s what’s worked for me, plus things that can really help:
- Consider space: Big, bold labels work in sprawling beds, while tiny pots need slim, subtle tags.
- Think about reusability: If you swap out crops seasonally, wipeable chalk or erasable paint is worth looking into.
- Check for toddlers or pets: Sturdy, nonsharp markers are safer where small hands and paws explore.
- Visibility: Go for bright, contrasting paint in shady corners, or reflective materials on markers for evening strolls.
- Cost: Homemade or recycled markers keep budgets in check, especially if you garden on a bigger scale.
Taking a little extra time to match the type of marker with your climate and needs saves headaches later. When I started out, I lost a batch of cute wooden markers to a single rainstorm before I realized the difference a good sealer makes.
Choosing Weatherproof Options
If your garden faces heavy rain, blazing sun, or deep freezes, weatherproofing is super important. Painted stones and metal tags hold up really well. Plastic can work if you find thicker, UV-resistant options. Sealed wood lasts a season or two but might need replacing if your climate gets wet.
Refresher Tips for Common Marker Problems
Marker signs sometimes fade, wash out, or even disappear (it happens; squirrels love collecting objects for their own mysterious reasons). Here’s how I handle those hiccups:
- Keep a few blank markers and paint pens stored in the shed for quick fixes.
- Reapply names every spring as needed, especially for edible gardens you rotate or replant.
- Password-protect your best jokes from garden gnome theft. Just kidding! But it helps to write names clearly so there’s no confusion between tricky plant twins.
Creative Plant Marker Signs FAQ
Here are some questions that often pop up from gardeners looking to make or upgrade their plant labels:
Q: What’s the easiest material for a beginner plant marker project?
A: Wooden sticks (like craft or popsicle sticks) or painted stones are easy and cheap. They’re simple to decorate and can be tossed in the compost if they wear out or you want to start fresh.
Q: Are there any materials I should avoid?
A: Untreated paper, cardboard, or plain ink markers usually won’t survive outdoors. Look for water-resistant finishes or materials.
Q: How do I keep handwritten labels from fading?
A: Use oil-based or paint pens and add a clear sealant. Some folks swear by engraving or metal stamping if you want things to last for years.
Q: Can I buy creative plant markers if I’m not crafty?
A: For sure! Many local garden centers and online shops sell hand painted, lasercut, or even personalized planter tags in all sorts of styles. Search for ecofriendly or small business suppliers to get unique options.
Adding the Finishing Touch: Making Your Mark on the Garden
Plant marker signs make gardening a whole lot easier and way more fun. They organize your rows, showcase your personality, and can turn a patch of dirt into a creative project. Try out different materials, paint colors, and maybe even a few puns. Whether you have a single windowsill herb garden or a sprawling vegetable patch, sprucing up your labeling game brings a smile every time you wander outside. The best part is seeing your garden grow, knowing you’ve put a little bit of yourself into each marker along the way.
For extra tips, connect with gardening communities online. Share your marker creations, swap ideas, or ask questions if you run into any snags. That way, the garden grows, and so does your creativity. Happy planting and happy labeling!