
 “Here’s a little transparency: Our website contains affiliate links. This means if you click and make a purchase, we may receive a small commission. Don’t worry, there’s no extra cost to you. It’s a simple way you can support our mission to bring you quality content.”
Adding a calming sign to your garden is a simple way to bring more peace and personality into your outdoor space. I’ve found that the right words or a playful design can transform even a small corner into a spot where you truly want to relax.
If you enjoy do-it-yourself projects and want your garden to feel more inviting, creating your own calming sign can be a fun and satisfying afternoon project. You don’t need fancy equipment or advanced art skills—just a bit of patience and creativity.
I’m sharing practical steps and creative ideas here to help you craft a garden sign that lifts your mood every time you step outside. Whether you want to inspire a sense of calm, encourage mindfulness, or just add a warm welcome, this guide lays out everything you’ll need to get your creativity flowing and make your space even more special. Plus, we’ll check out ideas to keep your sign looking sharp year-round, so you can enjoy a peaceful garden in any season.
1. Choosing Your Garden Sign Message
Before grabbing materials, start by thinking about the vibe you want your garden sign to give. I like to keep things positive, gentle, or a little whimsical; messages that help you slow down and enjoy the moment can really make a difference in your garden’s mood.
Popular Calming Phrases
- “Breathe Deeply”
- “Welcome to My Sanctuary”
- “Peace Grows Here”
- “Rest a While”
- “Let Nature Soothe Your Soul”
- “Tranquility Zone”
Your sign can include an uplifting quote, a single word like “relax,” or even a friendly reminder to pause and notice the beauty around you. If you have a favorite saying or a word that resonates with you, this is a great place to use it. You can also pick phrases that reflect your values or a season, like “Hope Blooms” in the spring, or “Stillness” during autumn. This way, the sign truly becomes yours and brings a smile every time you see it.
2. Picking Materials: What Works Best Outdoors
Outdoor garden signs get plenty of sun, rain, and wind, so picking the right materials is pretty important if you want your work to last. I usually suggest a few sturdy options:
- Wood planks: Cedar, redwood, and treated pine hold up well outside. Old fence boards or pallet wood work great for a rustic feel and add instant character.
- Slate or stone: Small flagstones or flat rocks feel natural, with paint or engravings that show up nicely and last a long time.
- Metal: Repurposed metal sheets, like old license plates or pieces of tin, can be painted for a vintage look and have a long lifespan.
- Terracotta or ceramic: These add a warm, earthy vibe but need waterproof paints and sealants to keep them looking good outside.
Whatever base you pick, make sure it’s cleaned and dried. Sanding wood lightly gives you a smoother surface for painting, while rocks can be scrubbed with water and a brush to remove dirt. If you’re reusing materials, double-check for nails or rough edges before you start decorating. Recycling old materials into art for your garden is not only ecofriendly, but it also brings extra personality and stories into your outdoor space. Consider asking family or neighbors for scraps you could use—sometimes the most unique piece comes from a forgotten corner of the garage.
3. Planning Your Design: Colors, Fonts, and Extras
Designing your sign is where you really get to have fun with it. Calming garden signs usually work best with soft, soothing colors. Think blues, greens, or gentle yellows. Earth tones blend in nicely with most outdoor spaces and don’t compete with the flowers or greenery around them.
Tips for Easy Readability
- Pick a large, simple font so your message is easy to read from a distance.
- Using stencils can give you crisp letters, which are super helpful if freehand isn’t your thing or you want clean lines.
- Sketch your design lightly with pencil or chalk before painting. This way you can move things around or tweak your idea before committing to paint.
Adding Decorative Touches
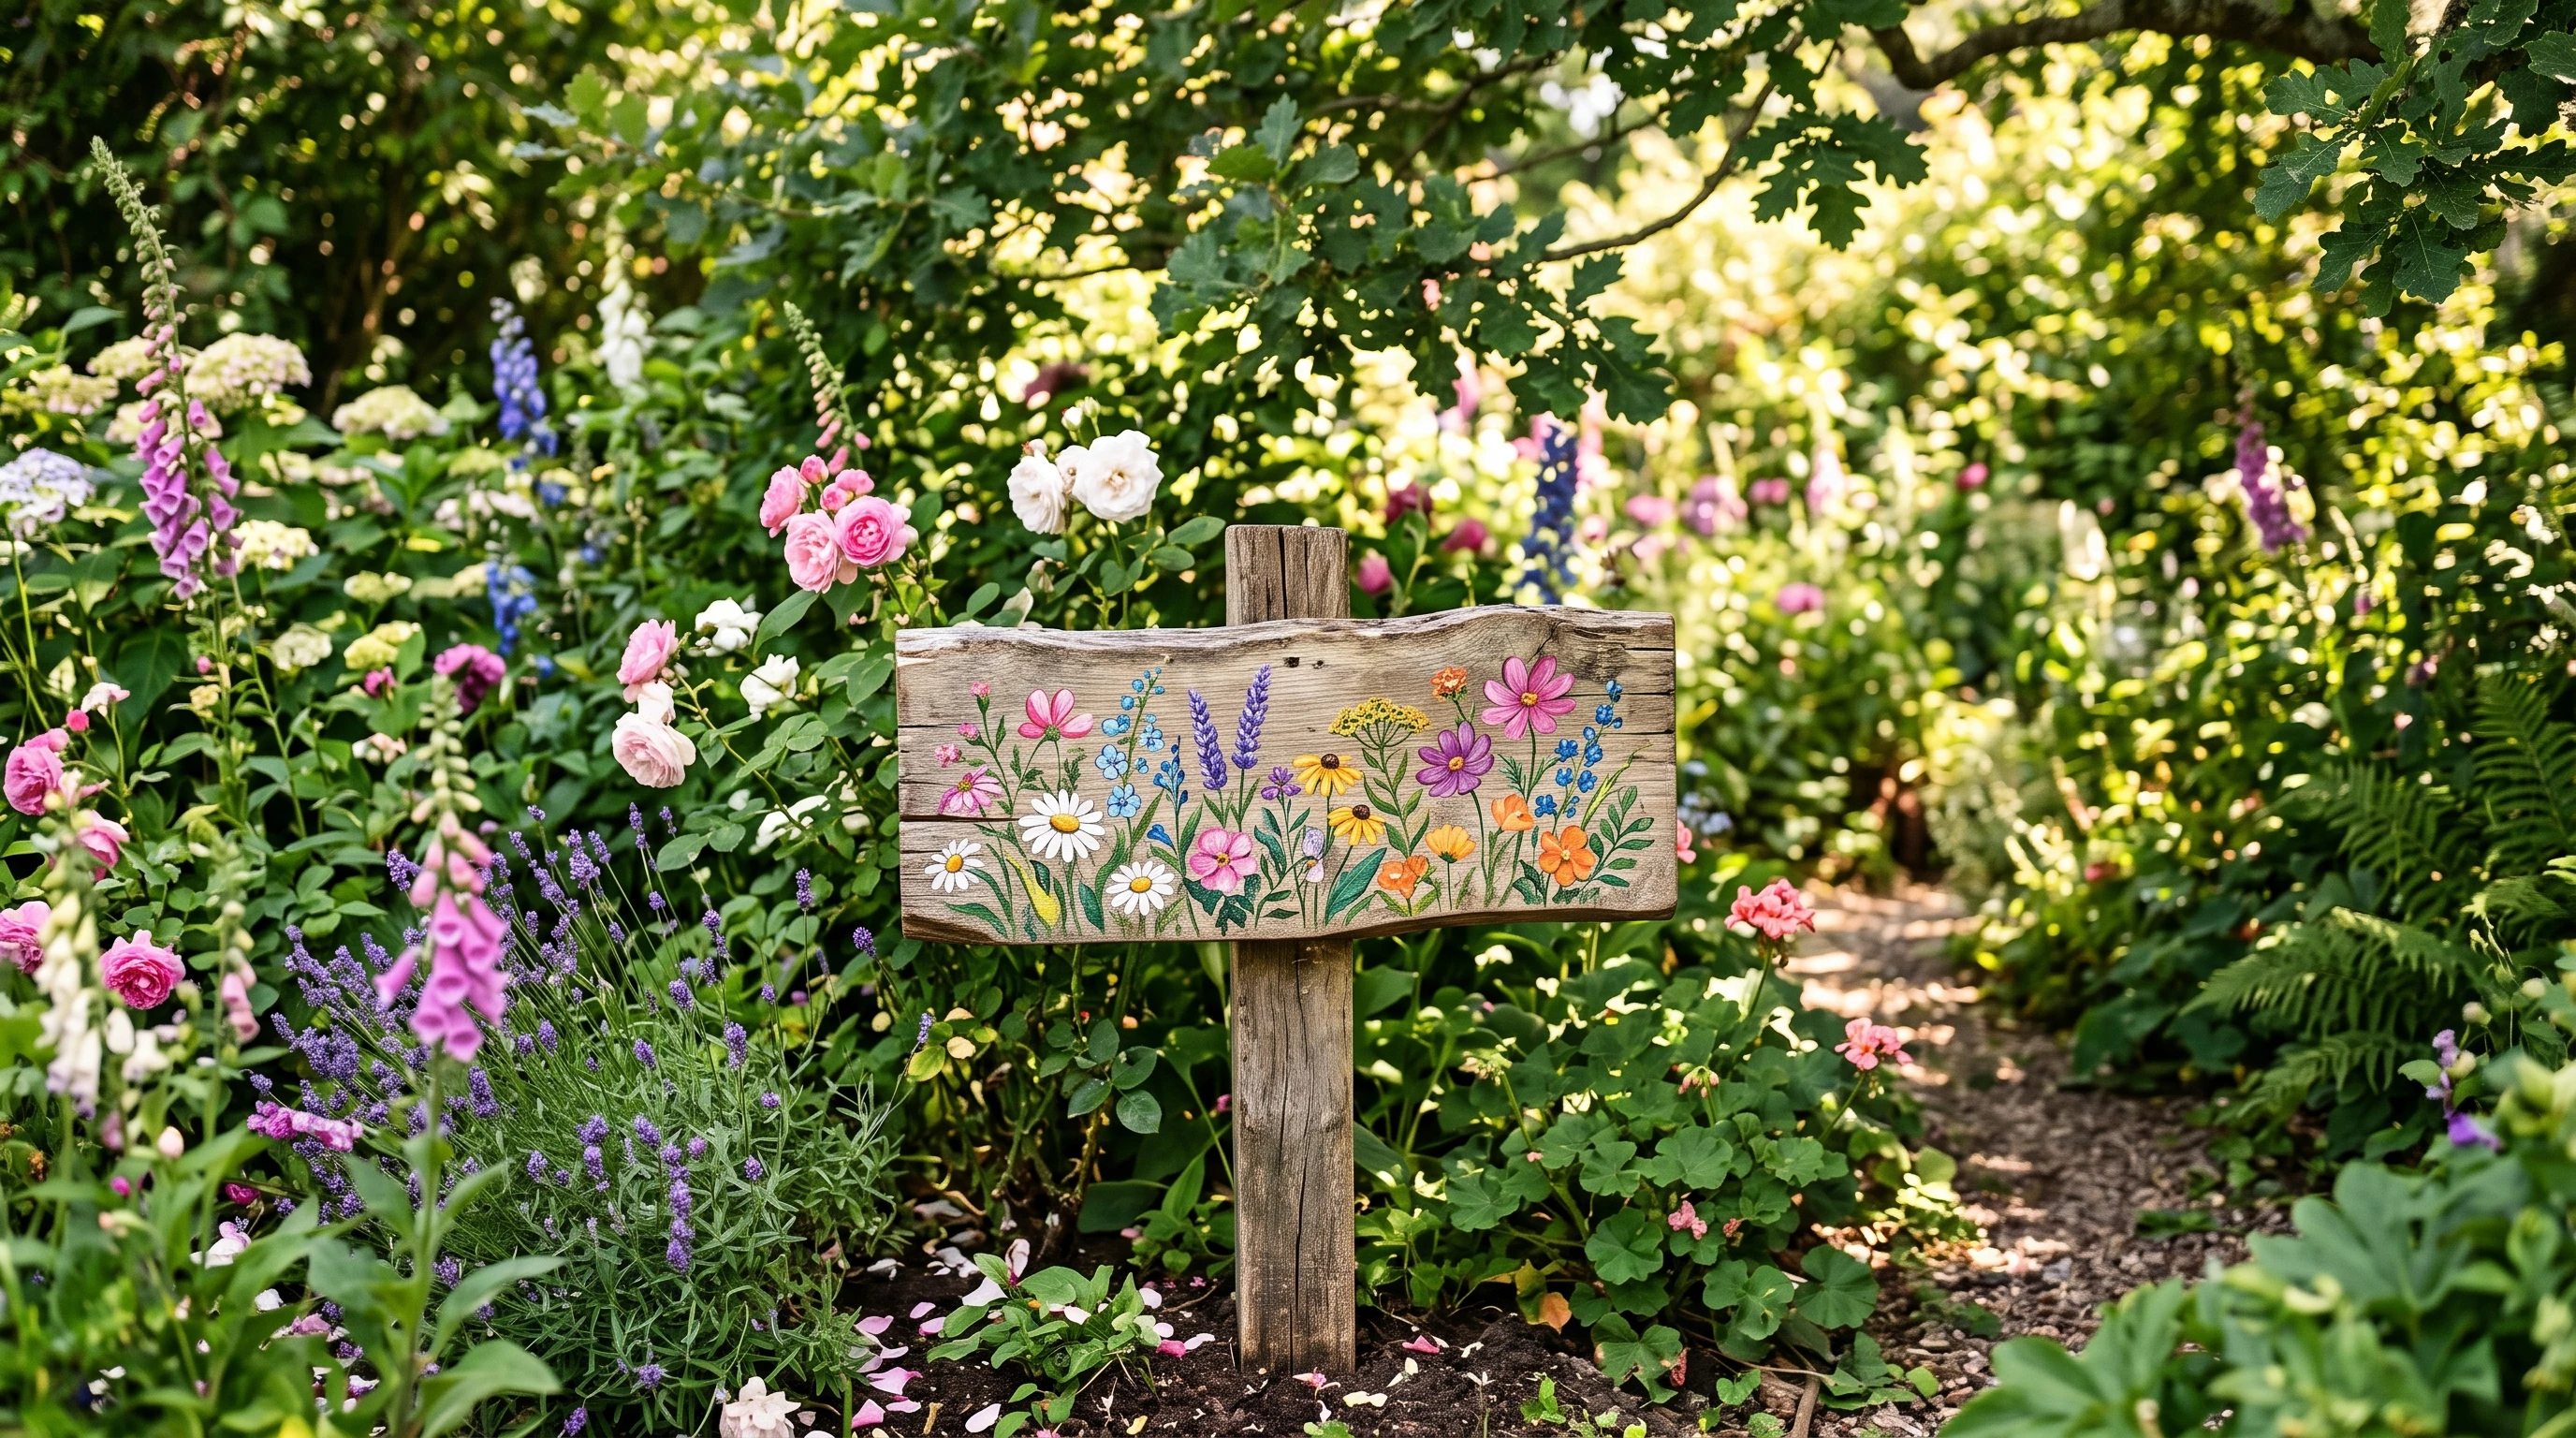
- Paint borders, leaves, flowers, or even a sun or moon for a peaceful, nature themed vibe. Simple designs tend to be the most soothing and blend seamlessly with nature.
- Glue on smooth river stones, glass gems, or pressed ferns for subtle texture and a tactile feel.
- For wood, carving or burning the design into the surface gives a cool, natural look. Painting is easier for most folks, but trying out different techniques can help you make a sign that’s truly one of a kind.
I love to keep it simple, but a little creativity makes your sign feel special. You could include a favorite flower or even outline the silhouette of a bird or butterfly—these details step up your sign’s charm and make your garden feel more personal.
4. Painting, Sealing, and Finishing Your Sign
It’s really important to use paints that can handle the outdoors. Acrylic craft paints labeled for indoor/outdoor use work well on wood, ceramic, stone, or metal. For metal signs, a coat of spray paint primer helps the color stick better and last through stormy weather.
- Paint your background color and let it dry before adding your phrase and decorations for crisper results.
- Use small brushes for letters and detailed accents, working slowly and in layers if needed. Mistakes can usually be covered up with another layer or a small decorative detail, so don’t stress too much.
- Allow all paint to dry thoroughly (usually overnight) before moving on to sealing to prevent smudging.
Protecting Your Sign from the Weather
- Spray or brush on a clear, out door grade sealer over the front and back. This helps prevent fading, peeling, or mildew and keeps your sign looking fresh throughout the seasons.
- For wood signs, marine varnish is a solid choice, as it repels moisture effectively. For painted stone or ceramic, a few coats of clear acrylic sealer does the trick and adds a little shine.
Take the extra time with this last step; it’ll keep your hard work looking good all season and beyond. If possible, bring delicate signs indoors during extreme weather stretches or over the winter to help them last through multiple years of sunshine and rain.
5. How to Display Your Calming Garden Sign
Where you put your garden sign makes a big difference in how much you’ll notice and enjoy it. Here are some easy ideas to fit any space or taste:
- Attach to a garden stake and tuck it among your flowers, herbs, or along a garden path for a subtle surprise as you wander your garden.
- Hang from a tree, arbor, or fence using string, wire, or sturdy hooks to make your message visible from different angles.
- Lean a stone sign against the edge of a raised bed or place it by your porch steps to greet visitors right away.
- If your sign is lightweight, it can even hang from a shepherd’s hook or plant hanger at various heights for variation.
Check that your sign is secure, especially if wind or heavy rain is common where you live. Signs hung with rope or twine may need some adjusting after challenging weather. For extra peace of mind, use weatherproof fasteners or double up on string when mounting your sign in a breezy area. Choosing the right spot not only shows off your crafty project but also welcomes family and visitors into your peaceful garden haven.
6. Inspiring Ideas and Variations
I like to change up my garden signs with the seasons or switch between short quotes and single words depending on my mood. Here are a few more ways to personalize your calming garden sign and keep things fresh:
- Make a set of mini signs for a meditation path, with different messages at each stop to gently guide you along as you walk and relax.
- Use pressed flowers sealed under clear resin for a natural touch that also preserves a bit of summer all year long.
- Paint your sign on driftwood for a beachy, peaceful look and easy blending with sea grasses if you’re near the coast.
- Try a chalkboard paint background so you can write new sentiments whenever you’d like. This keeps your garden messages flexible for special events or family gatherings.
This project is perfect for kids or a casual craft night, too. You can make a whole set and share them with neighbors or friends who love to garden, spreading the positive energy and creativity throughout your community. Some people even host garden sign swap events at the start of each season, trading pieces and getting new inspiration from each other. It’s a simple way to build both beauty and connection in your neighborhood.
7. Keeping Your Space Calming All Year
Your garden sign works best as part of an overall cozy outdoor atmosphere. I usually recommend pairing it with a comfortable bench, some shade, and maybe a few wind chimes or a softly bubbling fountain for extra relaxation. Fresh herbs, soft moss, or smooth rocks nearby add even more to the peaceful vibe and help set the stage for a soothing spot to unwind.
Refresh the sign when the colors start to fade, or swap it out seasonally. Your outdoor space will always feel welcoming and uniquely yours. Consider planting calming, fragrant plants nearby—lavender, chamomile, and mint are easy basics that boost your mood and make your space smell as inviting as it looks. Whether you have a sprawling yard or a small balcony garden, a thoughtful sign makes every corner feel personal and serene.
Final Thoughts
Creating a calming garden sign brings a little art, mindfulness, and joy into your yard without a huge investment of time or money. Every time you see your sign, you’ll get a gentle reminder to slow down and enjoy your outdoor sanctuary. If you put one together, I’d love to hear what message and colors you chose and how it brightens your garden. It just might inspire someone else to craft their own, making neighborhood spaces a bit more peaceful and connected, one sign at a time.