
“Here’s a little transparency: Our website contains affiliate links. This means if you click and make a purchase, we may receive a small commission. Don’t worry, there’s no extra cost to you. It’s a simple way you can support our mission to bring you quality content.”
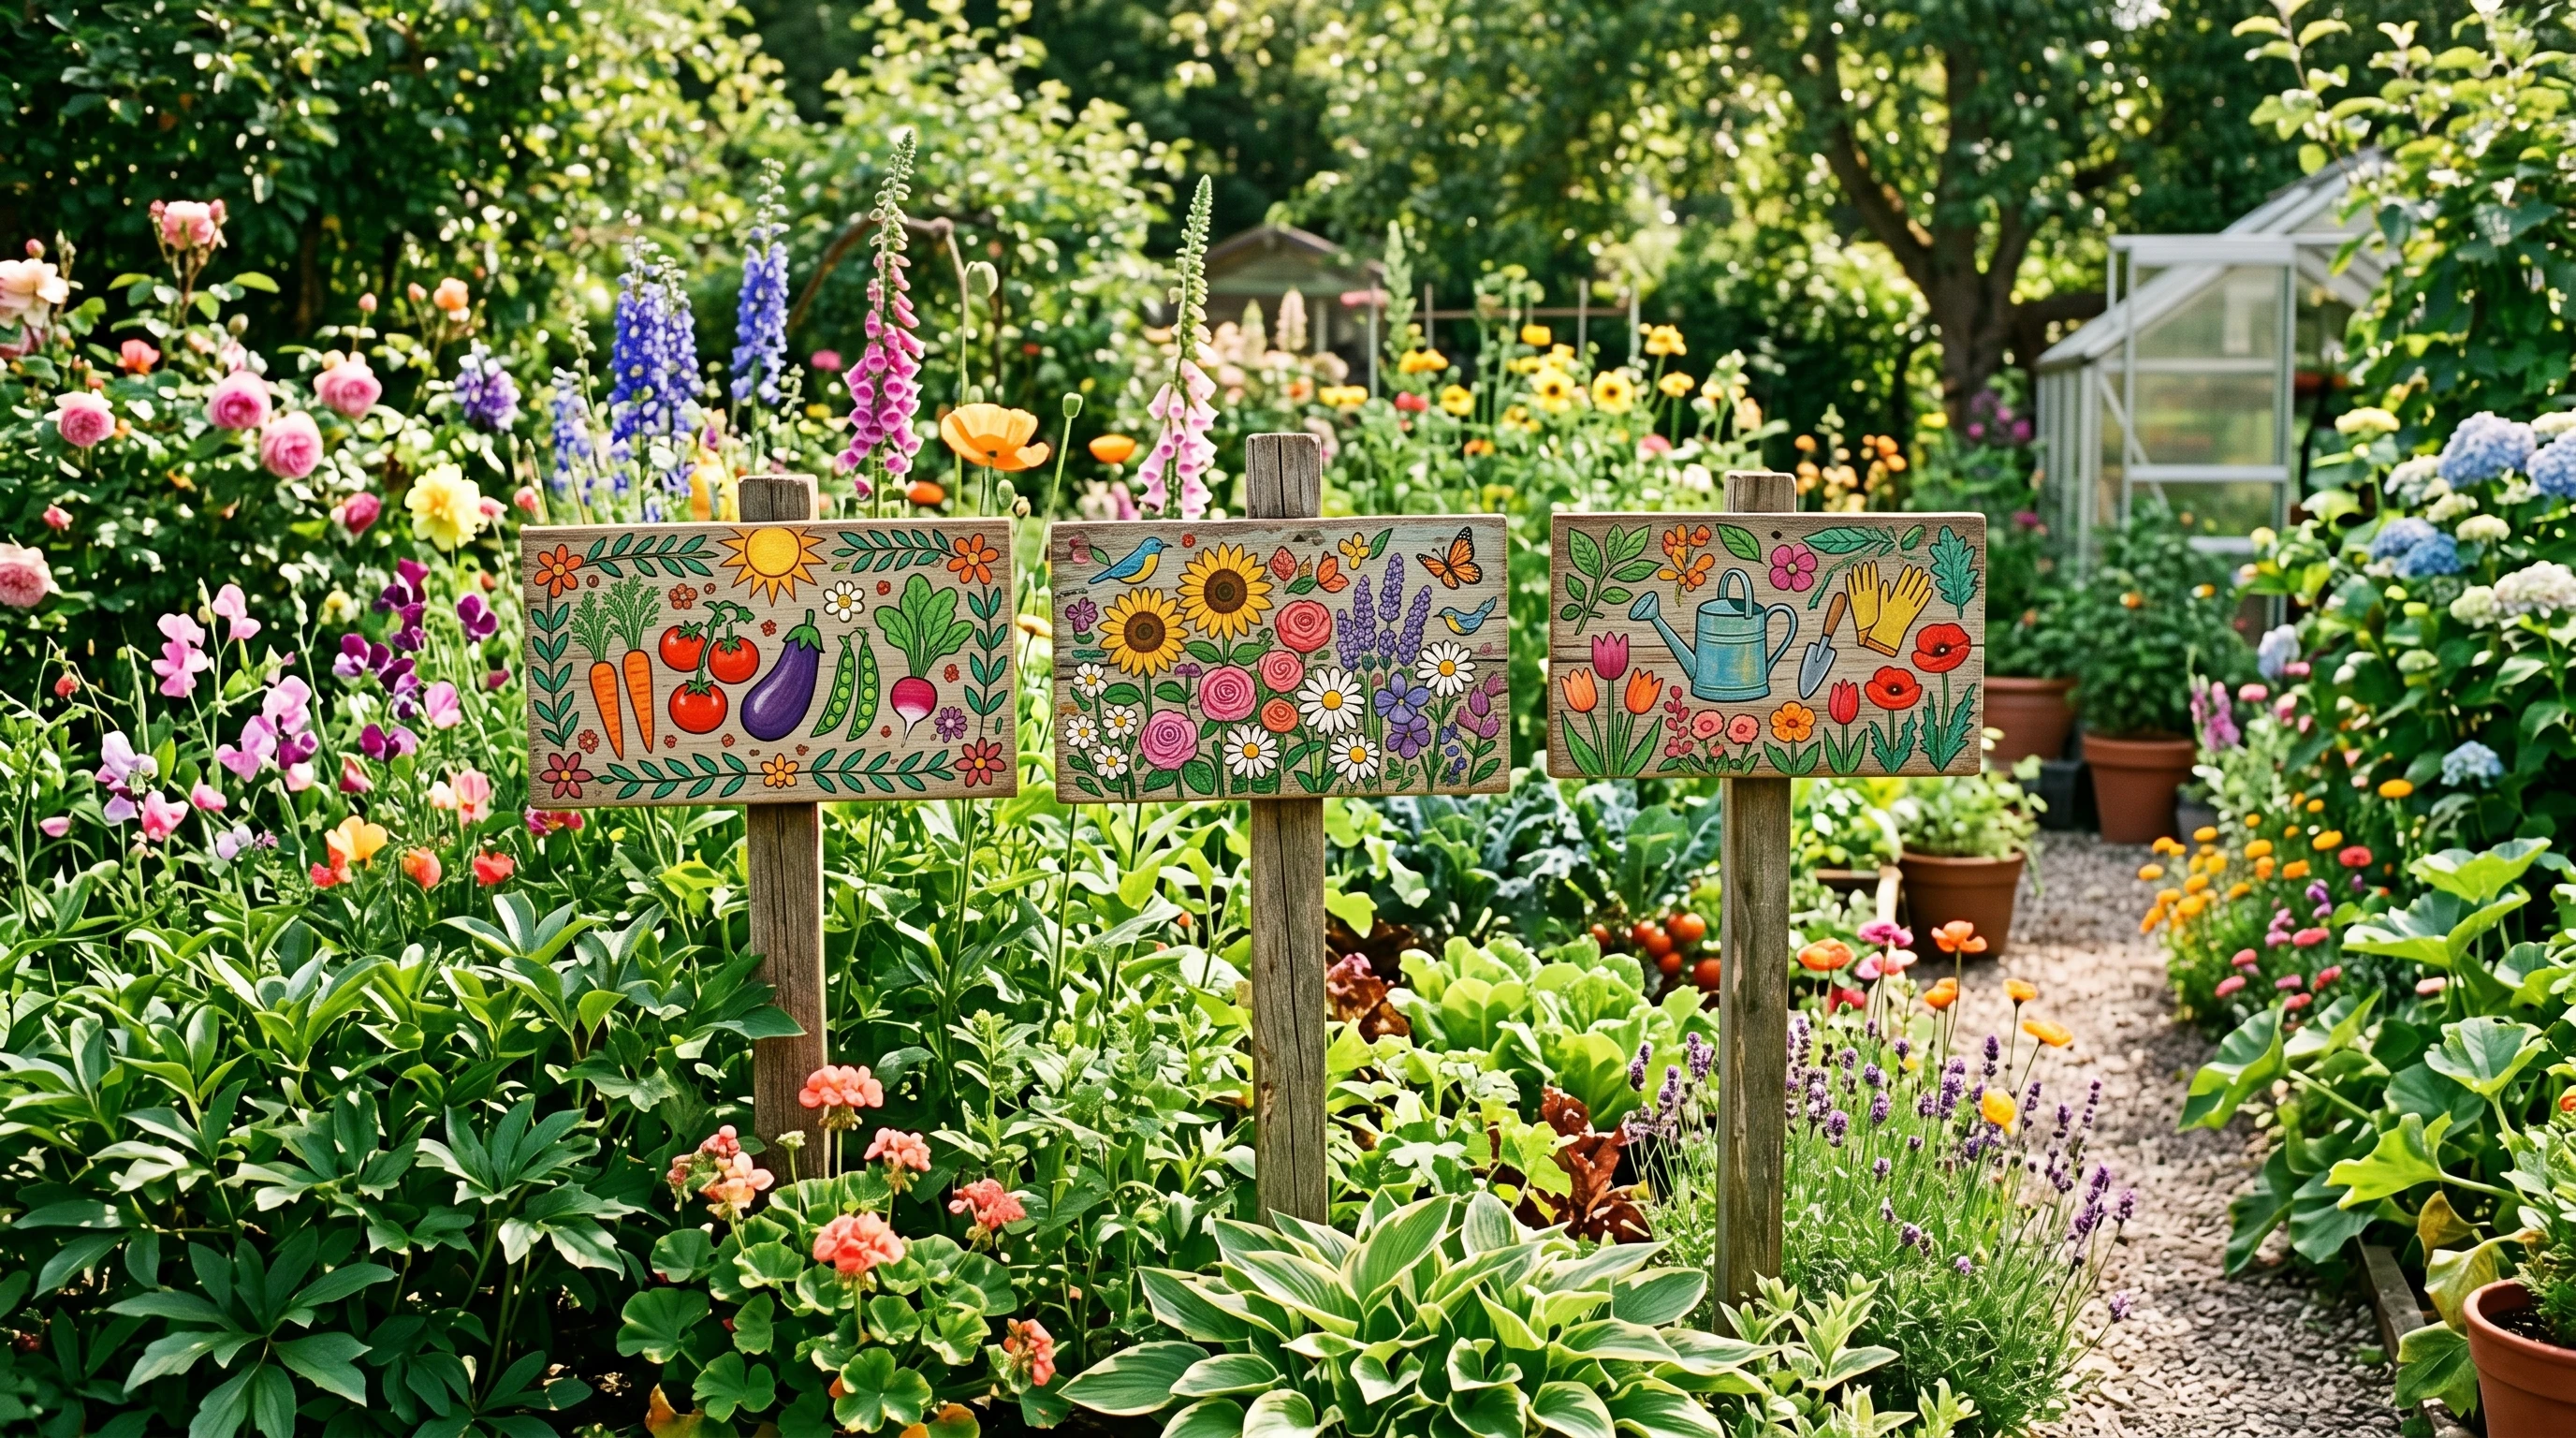
Personalized painted wood garden signs add a pop of charm to any outdoor space, whether you’ve got a backyard full of vegetables or a few potted plants on your patio. They’re a fun way to mark herbs and veggies, set the mood for a flower bed, or just share a favorite quote outdoors. I love how a simple scrap of wood can turn into a one of a kind accent, and you don’t need fancy tools or years of craft experience to pull this off.
If you’re looking to bring more personality to your garden or need a thoughtful handmade gift, making a painted wood sign is definitely worth checking out. You don’t need loads of art supplies—just a little patience and an eye for color. I’ll run you through the process, sharing the little details that make a big difference when you want your sign to last through rain and shine.
Here’s my complete stepbystep guide on creating personalized painted wood garden signs that turn heads and stand up to the elements.
1. Choosing the Right Wood for Your Sign
Picking the right wood makes the whole process smoother and helps your sign survive outside. Wood types like cedar, redwood, or even pine work really well for garden signs. Cedar and redwood have natural oils that help them fight off rot and pests, so they tend to last longer in the weather. Pine works if that’s what you’ve got handy, but it needs some extra protection (like a solid sealant) so it doesn’t warp or break down.
- Cedar: Easy to cut, great for outdoor use, and keeps bugs away.
- Redwood: Beautiful color, stands up well to rain and sun.
- Pine: Cheaper, easy to find, just make sure to seal it well!
Make sure the wood is smooth and dry before you start—it’ll save you headaches later. If you’re upcycling old boards, give them a quick sand to get rid of splinters and rough spots. Choosing a thicker board around 3/4 inch also gives extra durability, especially in wet climates.
2. Gathering Your Tools and Supplies
Having all your supplies together means more time getting creative and less time hunting for missing brushes. Here’s what I usually set out before I jump in:
- Wood board (cut to the size you want for your sign)
- Sandpaper (medium and fine grit)
- Acrylic paints (easy to work with, lots of colors, and good for outdoor use)
- Paintbrushes (grab a couple of different sizes)
- Pencil (for sketching the design first)
- Stencils (optional, for letters or shapes)
- Painters tape (helps with clean lines)
- Sealer (clear outdoor polyurethane or spray acrylic for weather protection)
- Rags or paper towels (for quick cleanups)
- Gloves (optional, if you want to keep your hands paintfree)
You don’t need fancy brandname paints or expensive brushes. A little goes a long way, and you can always mix colors to get the exact shade you want. Some crafters even use up leftover house paints or try experimenting with chalk paint for a matte finish. The most important thing is that the paints work for outdoor conditions, so check your labels if you’re not sure.
3. Prepping the Wood
This step is where the magic starts. The better you prep, the sharper your finished piece will look. Start by sanding the surface and edges until the whole board feels smooth (I like to start with mediumgrit and finish with finegrit sandpaper). Wipe away dust with a damp cloth and let the board dry.
If your sign will be getting lots of direct rain or sun, it’s smart to prime the wood before painting. Use a basic outdoor wood primer or even a coat of white acrylic paint. That helps your design really stand out and lasts longer against the weather. Make sure to include the sides and back; this helps prevent future warping or cracking.
4. Designing Your Garden Sign
This is my favorite part! Whether you love a handlettered look or want a bunch of bright flowers and veggies, there’s no right or wrong. I usually sketch out the design lightly with a pencil before loading up the paint. If you’re not sure about your handwriting, stencils are a quick fix that help keep lines neat.
- Keep it simple if you’re new, like writing “Tomatoes” with a little tomato doodle.
- Don’t stress about “perfection”; the handmade look is what makes these signs feel special.
- If you mess up, just let the paint dry and paint over that area again.
Try mixing and matching different colors for backgrounds and letters; contrast makes your sign pop from a distance. For inspiration, check out pictures online or try sketching your ideas on paper first. Sometimes tracing a design from your computer screen with a pencil on the back of scrap paper lets you transfer outlines directly onto the wood—super handy if you want precise shapes or images.
5. Painting Your Signthe Fun Part
I always start with the background color and let it dry before painting letters or adding details. Acrylic paint dries pretty fast, so you don’t usually have to wait long. Use a ruler and painters tape if you want crisp stripes or perfect borders. Layering two background coats often makes colors more vibrant, plus it gives your sign a professional finish.
For letters, use a smaller brush or stencil. Don’t be afraid to use a detail brush or even a toothpick for tiny accents like dots or flower petals. If you want a weathered or rustic look, try lightly sanding edges after everything is dry. Mixing a little white into your paint can create softer pastel tones, while black or brown shading makes images and letters stand out more. Detailed borders or frames around the edge really make a garden sign grab attention from across the yard.
6. Sealing and Protecting the Finished Sign
Outdoor signs need a tough sealer so rain, sun, or even enthusiastic watering doesn’t wash away all your work. Once the paint’s totally dry, brush or spray on a clear outdoor sealer. Polyurethane (check for exterior use) or a spray acrylic works great. I recommend two or three thin coats and let each one dry between coats.
Make sure to get the sides and back, too, so the wood doesn’t soak up moisture underneath. This also protects designs from fading or wearing out, giving you a longer-lasting, eye-catching sign. Try to reseal your garden signs every year if they sit outside through all seasons, and store them indoors in winter if possible for an extra longevity boost.
7. Mounting and Displaying Your New Sign
Once your sign is sealed and dry, it’s ready to show off! Here are a few easy ways to put your sign in the garden:
- On a stake: Attach the sign to a small wooden stake (use nails or wood glue) and push it into the soil.
- Hanging style: Drill two small holes at the top and add wire, string, or twine to hang from a hook or fence.
- Lean it: Smaller signs are easy to lean against bricks, large pots, or garden features.
The key is making sure your mounting style fits where you want to display the sign, and that it won’t fall over in wind or rain. If you’re placing signs near pathways, consider painting numbers or fun arrows to direct visitors to herbs or veggies. For communal gardens, trying making larger signs with fun, bold lettering to welcome everyone in.
8. Tips for Extra Personalization
Bringing in more personal touches takes your wooden garden sign from “cute” to “wow” and it doesn’t add a lot of extra work. Try including birthdays of birth flowers, favorite seasonal sayings, or even meaningful family symbols for something truly special.
- Add family names, favorite gardening quotes, or plant varieties.
- Paint little pictures of the plants you’re labeling; carrots, basil leaves, or sunflowers always look great.
- Layer colors or add simple background patterns, like dots, swirls, or even a checkerboard.
- Try glowinthedark paint if you want your sign to pop at night.
- Attach tiny found objects (like a key or small stone) for a mixedmedia touch.
Personal touches like these make your sign feel totally unique. They’re also a great way to get kids involved; give them their own piece of wood and let them design a sign for their favorite plant! You could even turn sign painting into a yearly tradition when starting your spring garden.
Wrapping Up
Handmade painted wood garden signs are a fun way to make any garden space feel more like your own. The project is pretty easy to take on and is super satisfying whether you want to go bold with colors or keep it simple. With a little care in picking materials, prepping, and sealing, your signs can last season after season. I always get compliments on mine, and they’re perfect as quick gifts for garden lovers, too.
There’s no limit to what you can design; start with a basic sign for your tomatoes or herbs and see where your creativity goes from there. Making these signs is a rewarding adventure in itself, and you’ll find each one adds soul and warmth to your outdoor space for years to come.
This looks like a fun project, and I like that you don’t have to be particularly artistic to give it a try. I would probably be one of those people reaching for the stencils rather than trusting my ability to paint the lettering by hand!
I also hadn’t really thought about how important it would be to seal the entire piece of wood, including the sides and back. It would be disappointing to spend all that time painting a sign only to have the weather ruin it after one season.
I especially like the idea of getting kids involved and letting them make signs for their favorite plants. That sounds like it could turn a simple garden project into a fun family activity. Have you found that cedar signs hold up noticeably longer outdoors than pine if both are properly sealed?
– Scott
Scott, thank you so much for the thoughtful comment! ???? You picked up on exactly what I love about these little garden projects. You definitely don’t have to be an artist. Sometimes a good stencil is the difference between a charming garden sign and something that looks like it was written during an earthquake! ????
And you’re absolutely right about sealing the entire piece of wood. The front may get all the attention, but the sides, back, and especially the end grain are where Mother Nature likes to sneak in and cause trouble. A little extra preparation can make a huge difference in how long your sign lasts.
I also love the idea of getting the kids involved. Give them a paintbrush, a piece of wood, and permission to get creative, and suddenly you’ve got a family project and a garden full of stories. ????????
As for your question about cedar vs. pine, yes, cedar generally has the advantage outdoors because it naturally resists moisture, decay, and insects better than pine. Proper sealing helps both, but cedar is usually the better choice if you want a sign to spend many seasons outside. Pine can still work beautifully, especially when it’s properly primed, painted, and sealed.
Thanks again, Scott, for stopping by and sharing your thoughts. Comments like yours make these projects even more fun to talk about!
With Gratitude
Much Love
Good Luck, Have FUN
Richard