
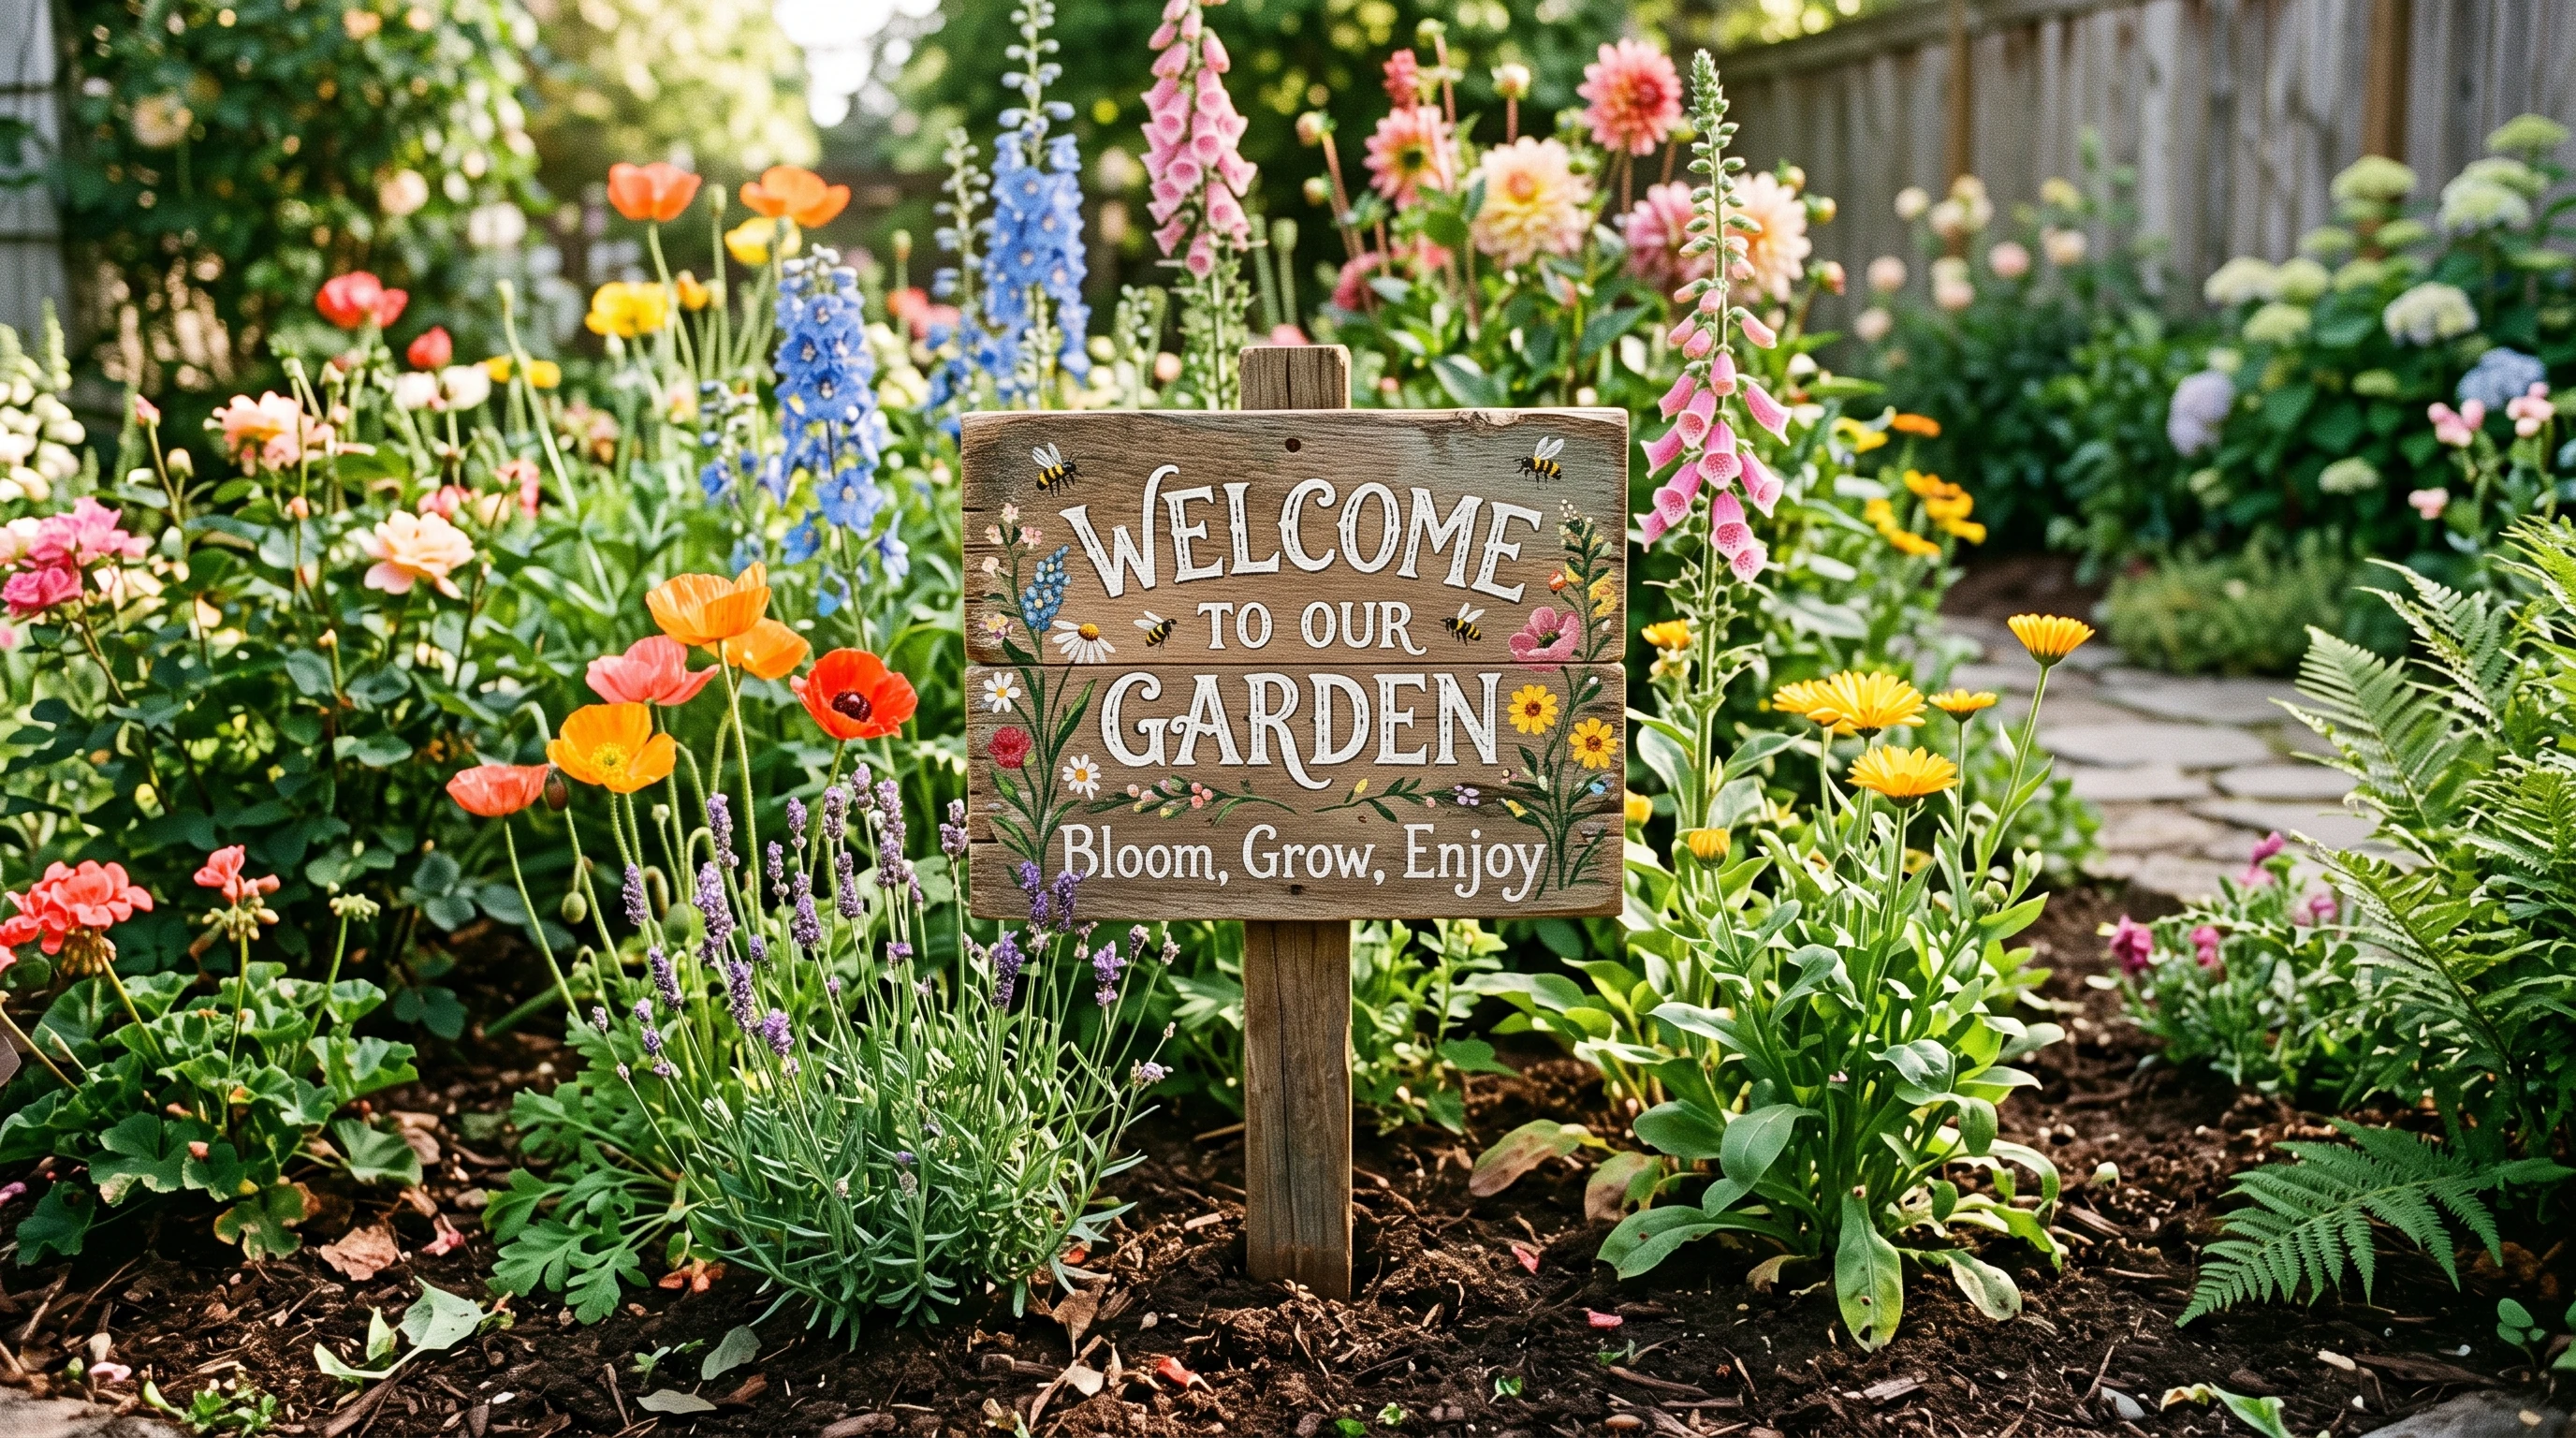
 Wooden garden signs add a unique touch of personality to any outdoor space, whether that’s your veggie patch, flower beds, or a cozy front porch. Nothing beats the look and charm of hand painted signs, each one a little different from the next, painted with care and packed with character.
Seasoned gardeners and first time plant parents alike can make use of these signs for organizing, storytelling, or simply putting a smile on a neighbor’s face. Besides their obvious function of labeling herbs, veggies, or flowers, they can add inspiration, whimsy, or even a bit of humor to your garden setup. Many people also use these signs to keep track of planting dates or remind themselves about watering routines. Over time, wooden signs might even become cherished keepsakes, reminding you of seasons past or plants that thrived.
I’ve learned firsthand how putting up just a few hand painted garden signs instantly makes a garden feel more welcoming. In this article, I’m sharing what makes these signs special, how you can create or choose the right ones for your space, and some simple care tips to make sure your signs last season after season. Sprinkled throughout are extra ideas about making these signs functional, fun, and meaningful for any backyard or balcony gardener.
1. Why Choose Hand Painted Wooden Garden Signs?
Hand painted wooden signs offer something you just can’t get with plastic or mass produced labels. They age gracefully, blending into the natural look of your garden, and they let you show off a little bit of personality along the way. Plus, having one of a kind signs helps your garden look more cohesive and creative.
Each piece has its own vibe. Maybe it’s quirky with a joke, pretty with flowers or bugs, or simply practical if you just want things labeled. Unlike printed or engraved signs, the hand painted look comes from a real person, and that’s something visitors to your garden will notice instantly. These signs can also become a family tradition, with kids or other relatives joining in to design new signs every season.
Key Benefits
- Unique designs: No two are exactly alike, and you can match them to your own style.
- Sustainable: Wood can be responsibly sourced and painted with ecofriendly paints.
- Easy to DIY or customize: Making your own is very doable with basic materials and even beginner level painting skills.
- Blends with surroundings: The natural look of wood sits right at home among plants and flowers.
2. Ideas for Hand Painted Garden Sign Messages
Sometimes the hardest part is figuring out what you want your signs to say. I usually mix it up with a few of each kind, depending on the feeling I want in my space.
Practical Labels
- Veggie or herb names: Such as “Basil,” “Tomatoes,” or “Mint.”
- Flower types: “Daisies,” “Roses,” or “Lavender.”
- Directional pointers: “Compost,” “Potting Shed,” or “Water Here.”
Fun and Whimsical
- Garden jokes: “Lettuce Turnip the Beet” or “Don’t Stop Beleafing.”
- Quotes: “Bloom Where You Are Planted,” or “Grow Slow, Enjoy the Show.”
- Personal touches: Family names, pet names, or milestones.
I also like to get creative with images. Painted bees, butterflies, or veggies make the signs pop and help little kids spot what’s growing. Some gardeners also mark pollinator areas, fairy gardens, or wildlife feeding zones using hand painted designs. By letting your imagination run free, simple pieces of wood become displays for family jokes, milestones, or even small works of art that truly make your outdoor space feel like your own.
3. How to Make Your Own Hand Painted Wooden Garden Signs
Even if you’re not much of an artist, making wooden signs is surprisingly beginner friendly. The best DIY signs come from simple materials and a personal touch. You don’t need fancy woods; old fence boards or leftover lumber often add a rustic, charming look.
Materials You’ll Need
- Scrap wood, wooden stakes, or precut wooden blanks from craft stores
- Outdoor acrylic paint or nontoxic paint pens
- A set of paintbrushes (different sizes help with details and backgrounds)
- Sealer like outdoor polyurethane or marine varnish
- Sandpaper for smoothing wood before painting
Optional tips: Use painter’s tape to block off straight edges or borders, or try stencils if your handwriting isn’t quite steady. For extra weather resistance, look for wood like cedar or redwood, which naturally stands up better to moisture.
Step-by-step Process
- Sand the wood lightly so the paint sticks well.
- Sketch out your design or phrase with a pencil. This helps plan your space and avoid mistakes.
- Fill in backgrounds or images using larger brushes, then add details and letters last.
- Let dry fully before sealing to lock in color and avoid smudges.
- Once dry, apply a weatherproof sealer to protect your work from rain and sun.
I usually let my signs dry overnight before sealing, just to make sure the colors don’t smudge. Predrilling a hole or attaching a stake to the back makes installation much easier. If you’re into creative touches, try using woodburning pens to outline or accent your painted designs before sealing.
4. Tips for Buying Hand Painted Wooden Garden Signs
If painting isn’t your thing or you just want to support an artist, there are loads of eye catching handmade options out there. I recommend shopping local or turning to platforms like Etsy, where you’ll find a huge range of handmade garden decor. By working directly with small makers, you often get the chance to add your own wording or request specific colors that match your space.
What to Look For
- Weather resistance: The artist should use outdoor paint and a reliable sealer to help the sign last longer.
- Customization: Many sellers offer personalized messages or colors for a little extra.
- Wood quality: Cedar, redwood, or treated pine hold up well outdoors, resisting warping and rot.
- Check reviews and customer galleries to pick up on the sign’s actual look and durability.
Supporting small makers means your garden sign comes with a story of its own. You’re way less likely to see the same sign in a neighbor’s yard. Some shops even collaborate with you on design tweaks, ensuring your sign fits right in with your garden style.
5. Protecting and Maintaining Your Garden Signs
Outdoor signs see a lot of sun, wind, and rain, so a little periodic care goes a long way. My first few signs faded quickly until I started using the right sealer. If your sign starts to look faded, a simple coat of clear sealer often brightens it right up.
Maintenance Tips
- Reapply a clear outdoor sealer each year, especially if your region gets lots of rain.
- Keep signs off the ground by using a sturdy stake or propping them up on rocks to avoid rot. This also prevents bugs from nesting underneath.
- If mold or mildew forms, scrub gently with a diluted mix of vinegar and water. Let air dry completely before returning to the garden.
Storing signs indoors during winter helps them last even longer, but I personally prefer to keep a few out year round for that bit of cheer during colder months. Simple care routines can add years to your favorite garden signs, so you get to enjoy them through many seasons.
6. Using Garden Signs as Gifts and Decor
Hand painted wooden garden signs always make a thoughtful gift, especially for housewarmings, birthdays, or as a thank you for a plant swap. You can personalize them for any occasion, and they’re a great way to hint at someone’s inside joke or favorite garden saying. For holiday seasons, painting themed signs (like “Spring is Here” or “Harvest Time”) brings festive energy outside, too.
Besides marking what’s planted, signs work well as front porch decor, on a balcony railing, or near a backyard seating area. I like to sneak a sign into a potted plant for a quick, easy upgrade. Some gardeners use multiple small signs along a path for a playful walkway or to tell a mini story as people stroll through their garden beds.
For those who enjoy themed gardens—whether butterfly gardens, herb corners, or fairy tale spaces—customized wooden signs help tie everything together visually and add an extra layer of charm. These details might seem small, but they can make a huge impact on the overall atmosphere and enjoyment of your outdoor oasis.
Final Thoughts
Hand painted wooden garden signs give every gardener a chance to bring personality, warmth, and organization into outdoor spaces. Whether you try painting your own or order a sign crafted by someone passionate about their art, these little touches stand the test of time and weather; plus, they look great doing it.
If you’ve already tried your hand at making or decorating with garden signs, I’d love to hear about your favorite designs or tips. Happy gardening!
Hi, Richard! The balance between practical plant labels and playful custom pieces makes wooden garden signs such an easy way to give a porch, patio, or garden bed its own personality! I’m curious whether you have found one outdoor sealer that holds color especially well through strong sun and frequent rain, since that can make or break a hand-painted finish over a full season.
For someone starting out with small herb pots or a balcony garden, would you suggest using paint pens, acrylic brushes, or stencils for the cleanest lettering? It could also be fun to hear which simple wood shape or sign size has proven most versatile for personalized gifts and seasonal décor.
Hi Ali,
Thank you so much for such a thoughtful comment! ???????? I really appreciate that you took the time to look beyond the sign itself and think about how it actually works in the real world. That is exactly what I love about garden signs. They can be practical little guides one minute and then become part of the personality of a home, garden, or gathering the next.
You brought up a great point about visibility. I’ve found that contrast usually wins the race. A sign needs to stand out enough to catch the eye, but not so much that it feels like it’s shouting at the garden! ???? Dark lettering on a lighter background, or light lettering on a darker background, tends to work especially well. Placement is just as important as color. Sometimes moving a sign a few feet can make a surprisingly big difference.
I also love your idea of a changeable chalkboard-style sign. For a covered porch, it can be a lot of fun for holidays, parties, and special events. For something meant to live outdoors year after year, though, I tend to favor a properly sealed wood sign. Mother Nature has a way of testing our craftsmanship! ☀️????️
And for beginners making herb or balcony-garden signs, I’d say start simple. Paint pens are great for clean lettering, while stencils are wonderful when you want consistency without having to trust your handwriting. A small rectangular wood sign is probably one of the most versatile shapes because you can turn it into a plant label, welcome sign, gift, or seasonal decoration with just a little imagination.
Thanks again, Ali. Your questions actually sparked a few ideas for future projects. Sometimes the best ideas come from someone simply asking, “Have you ever tried it this way?” ????
With Gratitude
Much Love
Good Luck & Have Fun
Richard